$0.00

Easter is just around the corner and it means spring is coming soon! I love spring, the pastel colors, the sunshine and the warming weather. I also enjoy decorating my little home with Easter/spring decorations. Especially if I can make them economically myself! My goal this year is to have my crafts be mostly made out of supplies I already have lying around the house. Using what I already have is always better.
The rustic carrots in today’s tutorial are popular in almost every store I have visited this March. These carrots are made out of twine, burlap, or bakers string. They come in a variety of sizes, usually three to a package, because we all know that you decorate in odd numbers, right? Each time I have see a package of these fun rustic carrots in all different shades of orange I have thought to myself . . . I can make that!
This post will chronicle my attempts at recreating these carrots, what worked and what did not. Yes, even I make attempts at craft projects that fail, but those failures just give me a chance to re-think and improve my process. That way when I bring it to you, I can show you what really works.
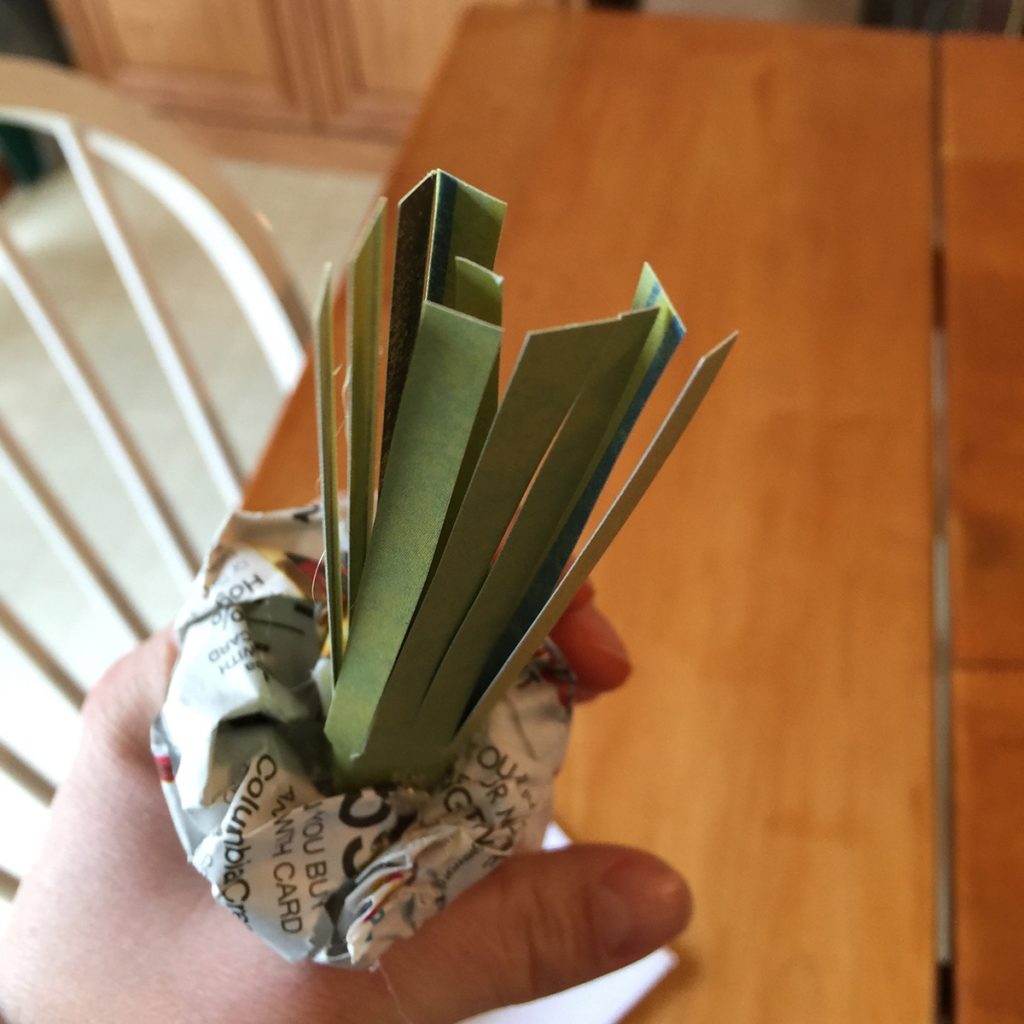
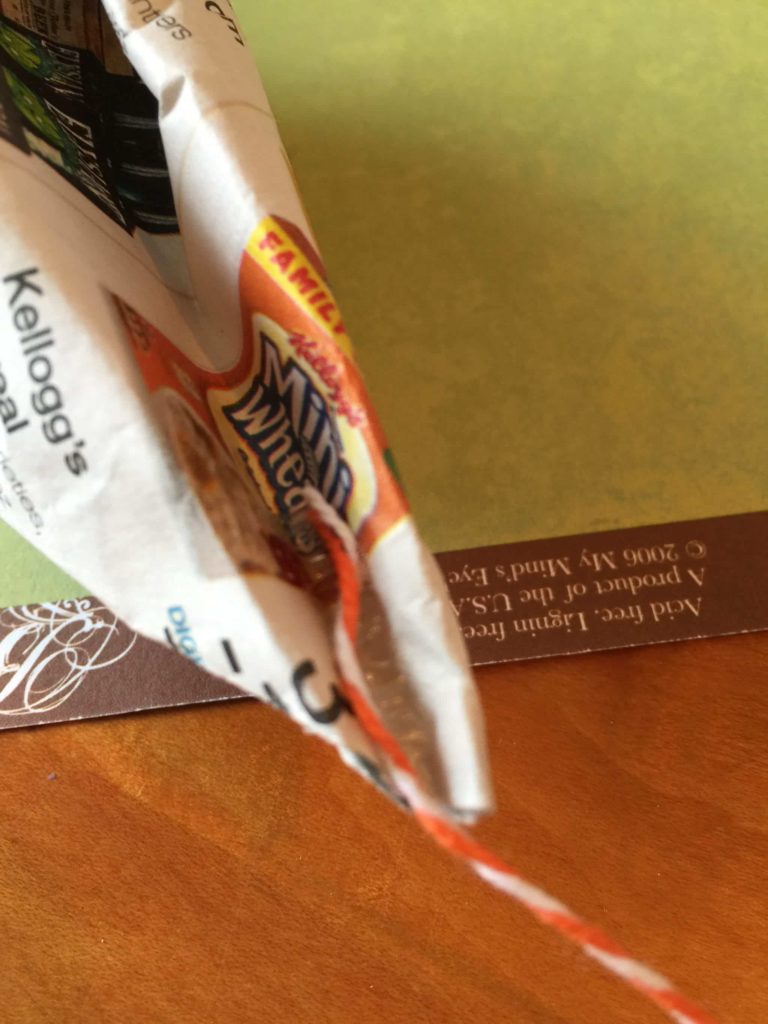
The first attempt was a carrot made out of a newspaper base, wrapped with orange and white bakers twine, glued together with hot glue. This gave the carrot a much more free-form look as we all know carrots are not ever perfectly shaped. At the beginning it looked like my carrot was shaping up very nicely and I was thinking to myself, “Wow this is simple and going so well.” But as I advanced to the end of the carrot where the green leaves are attached, I found that creating this carrot was not going to be as easy as it looked. Getting the twine to correctly wrap around that end of the newspaper proved to be harder than it looked and I was not satisfied with my attempts or my final product. (As pictured above.)
So, the next morning as I was driving to get my step-son & take him to his bus, my brain was swirling with thoughts of these rustic carrots. How can I improve this project? What base would work better than newspaper for wrapping the twine around? And it came to me! My next attempt will utilize an old pencil, a bamboo skewer or a piece of dowel. Whichever I can find at home. This will give for me a sturdier base and I believe it will allow me to wrap the twine more to my liking! Layering the twine or chosen material up and down the base until I like the shape of your carrot. So let’s get to the supplies you will need and the steps its takes!
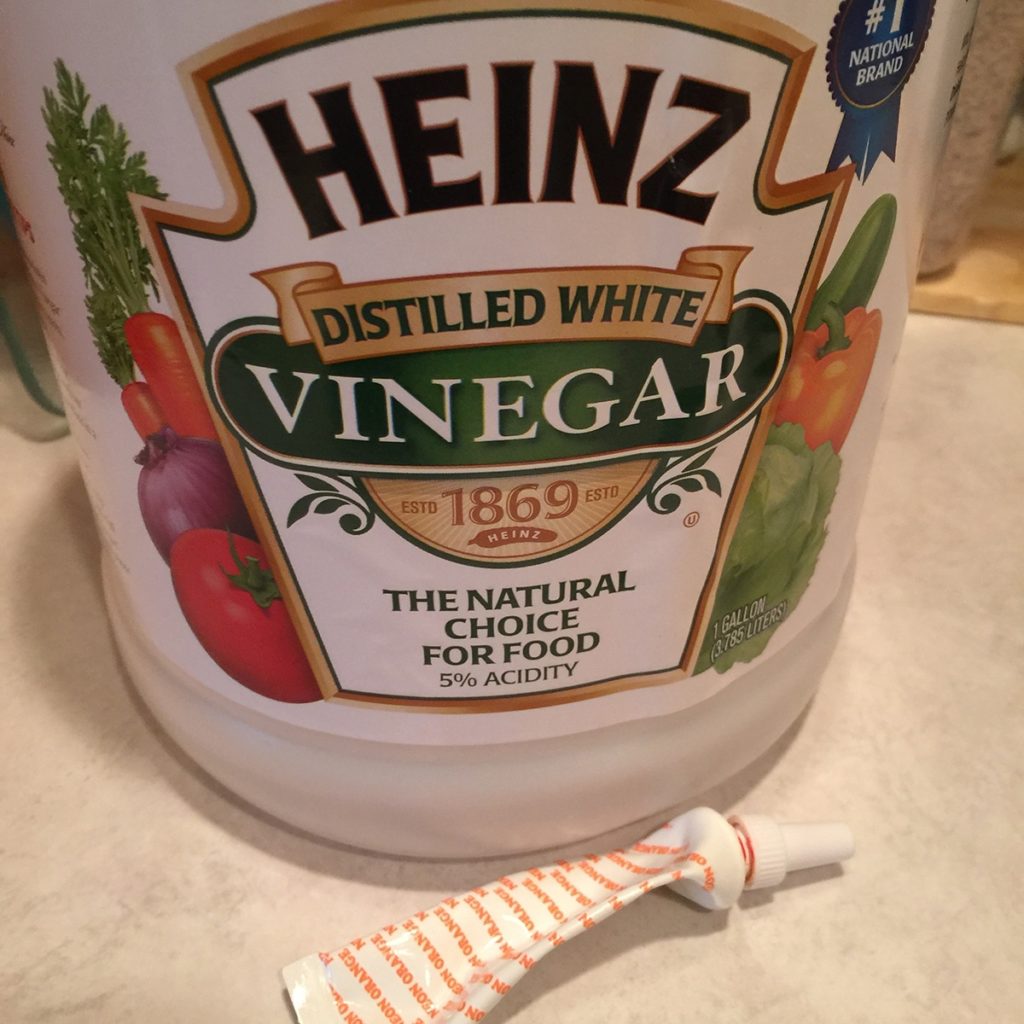

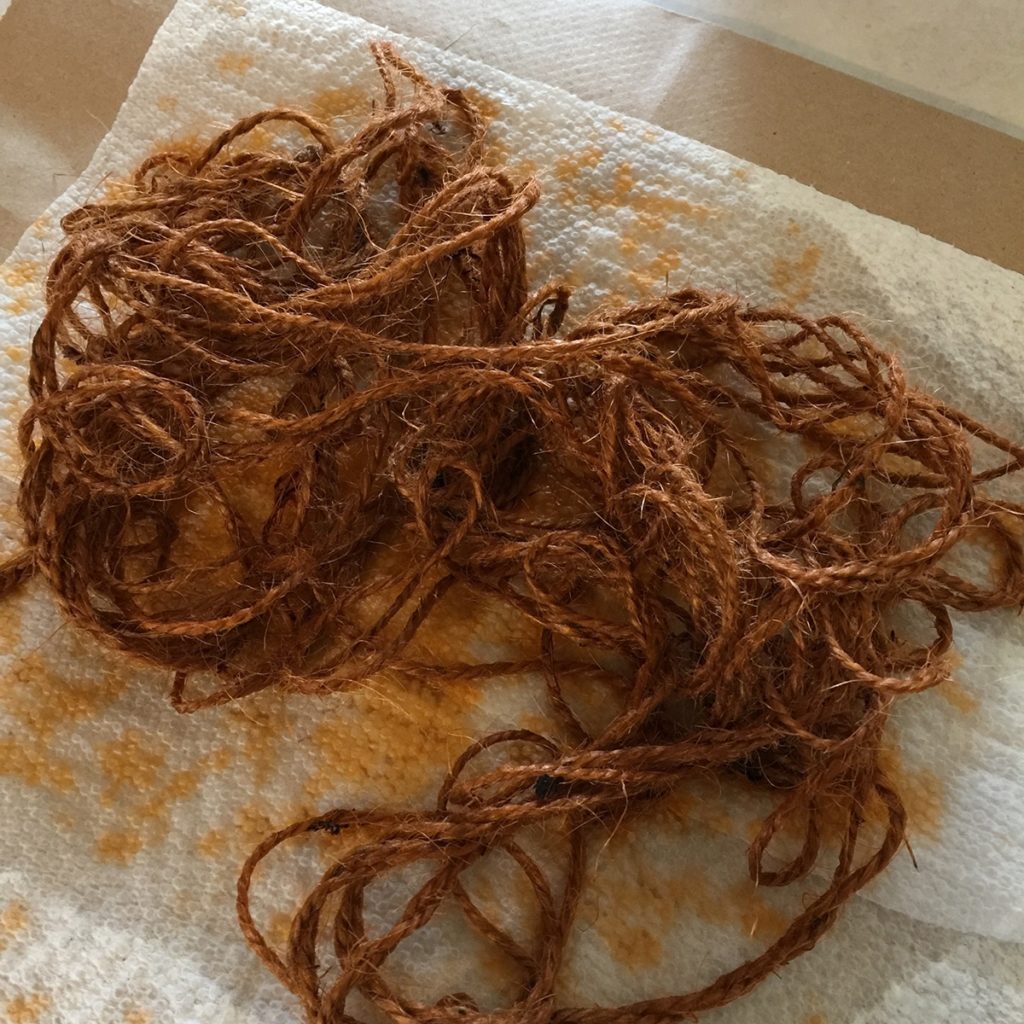
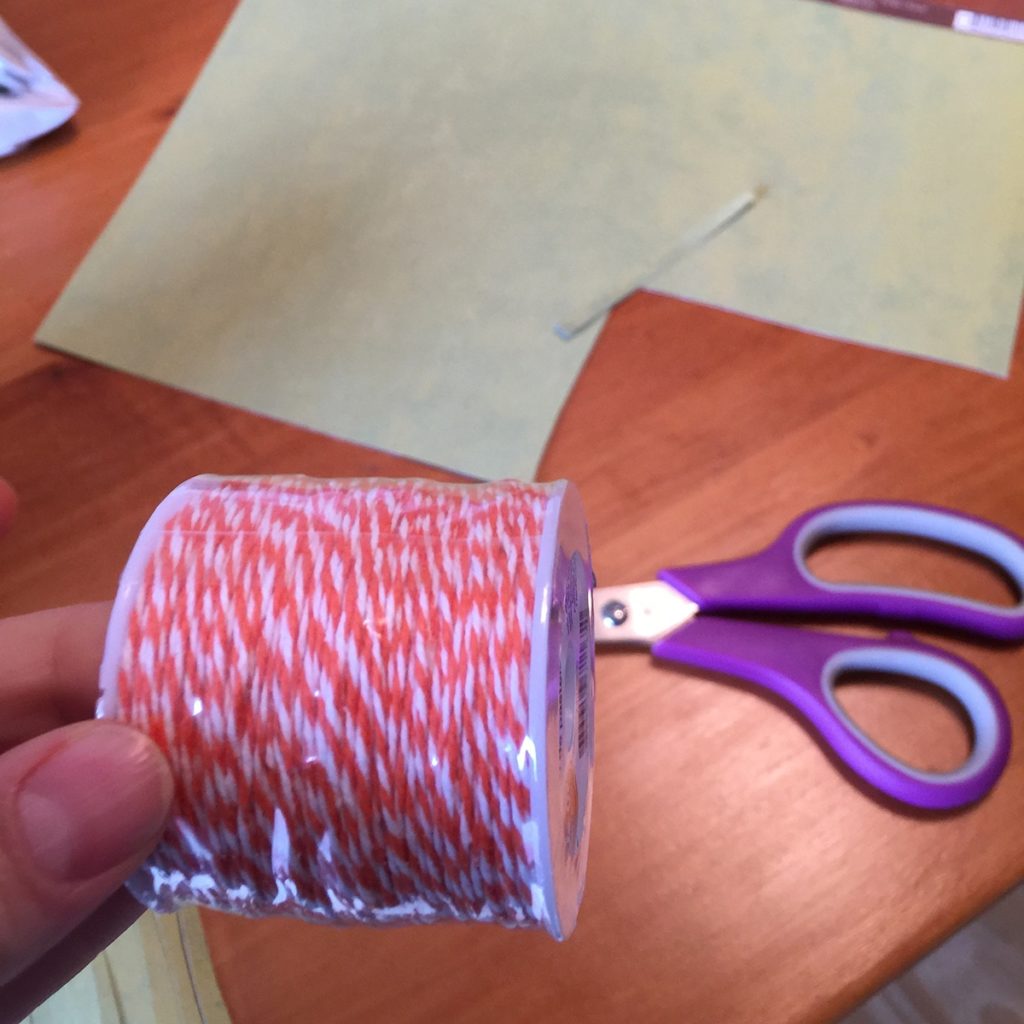
Step one: To dye your twine orange if desired, mix orange food coloring, vinegar and warm water together until you have your desired color of orange. I used about 2 tablespoons vinegar, one cup of warm water and a few squeezes of orange food coloring. (This is not an exact science) Then I soaked my twine for about 4 hours. Remove from solution and layout on paper towels and paper bags to dry. (about 24 hours).
Step two: Cut your carrots base (pencil, dowel or bamboo skewer) to your desired length, mine were between 2 and 4 inches.

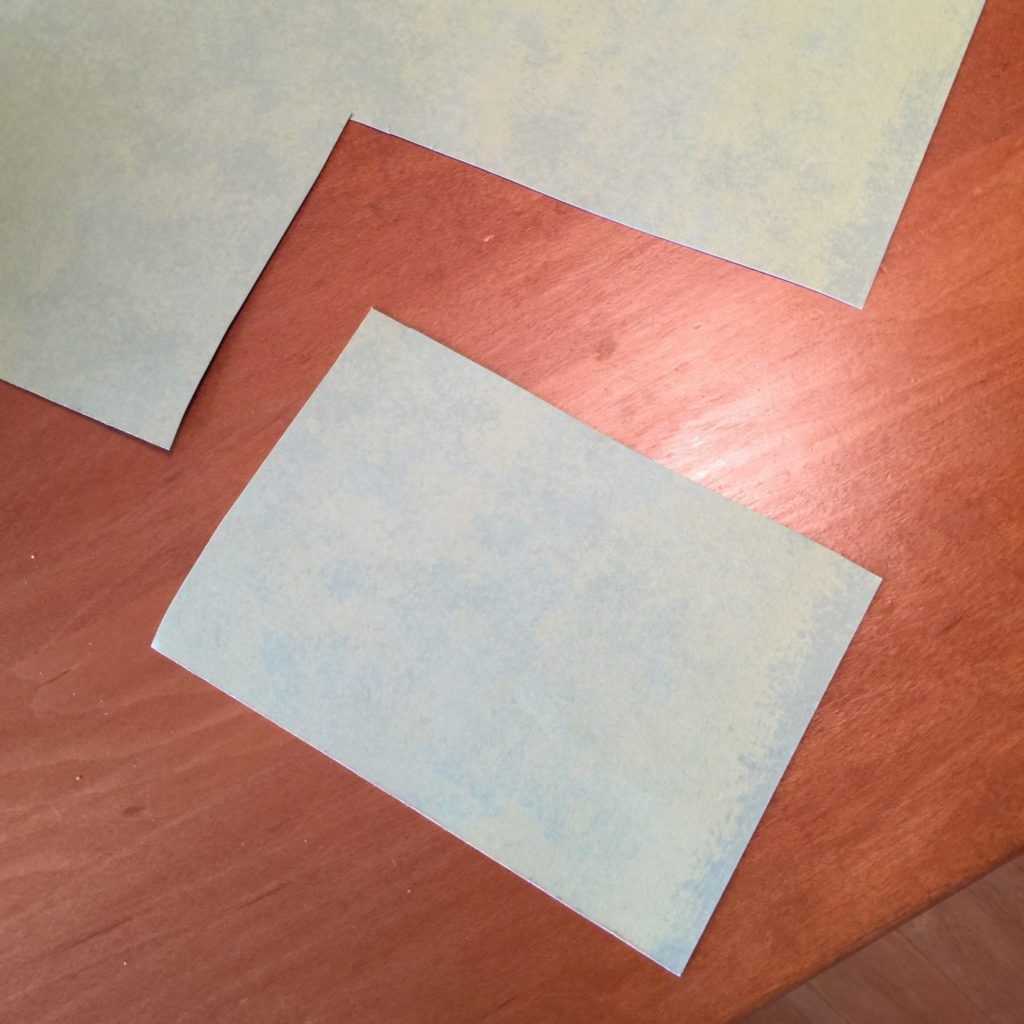

Step three: Cut a rectangle of green construction paper to desired length of greenery for the end of your carrot; cut little strips making sure to leave them attached at the bottom of your rectangle.
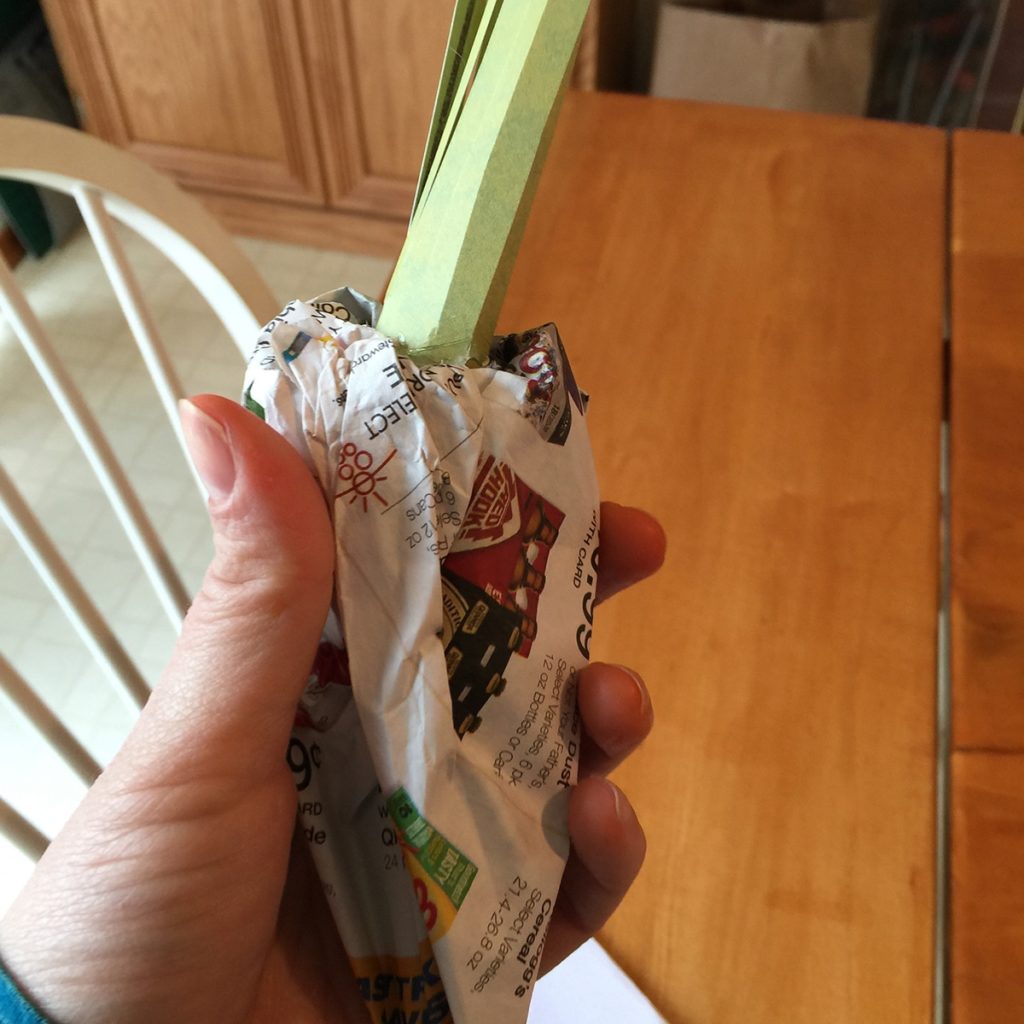
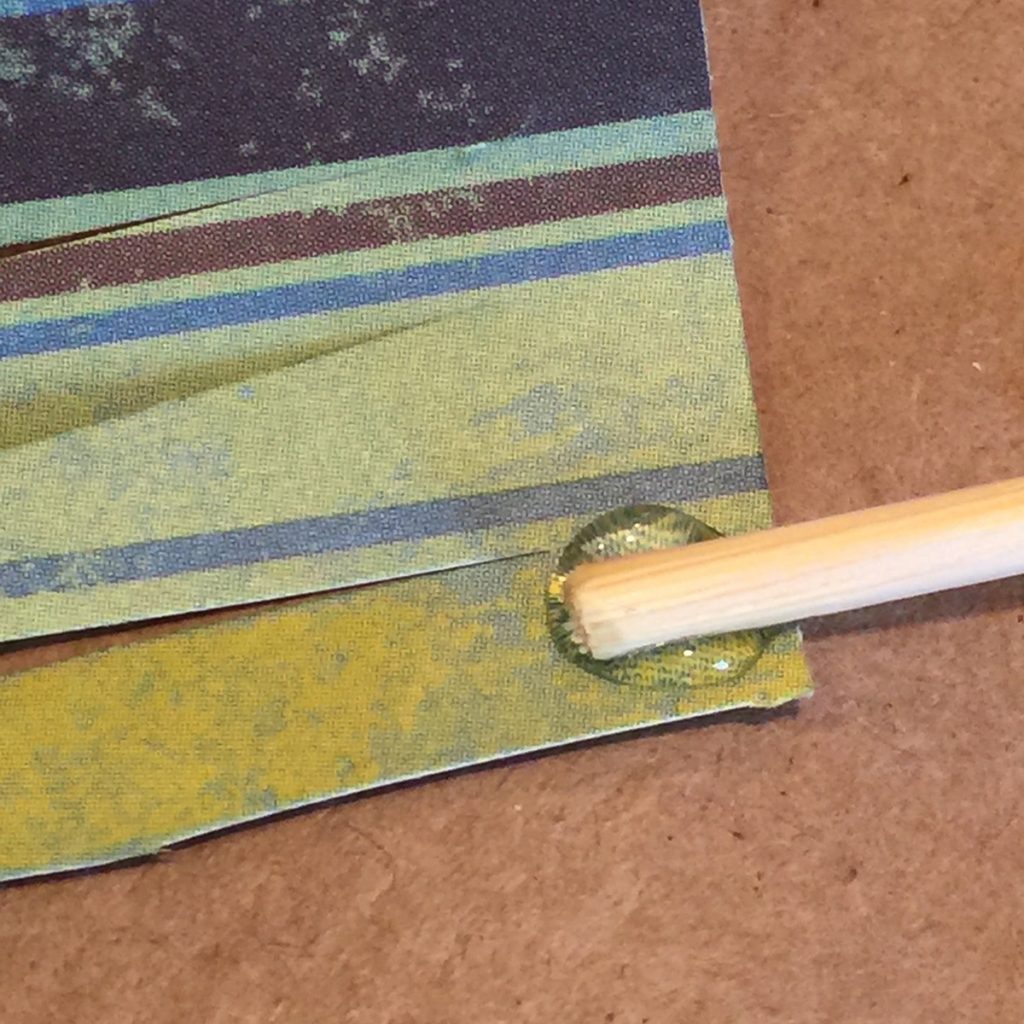
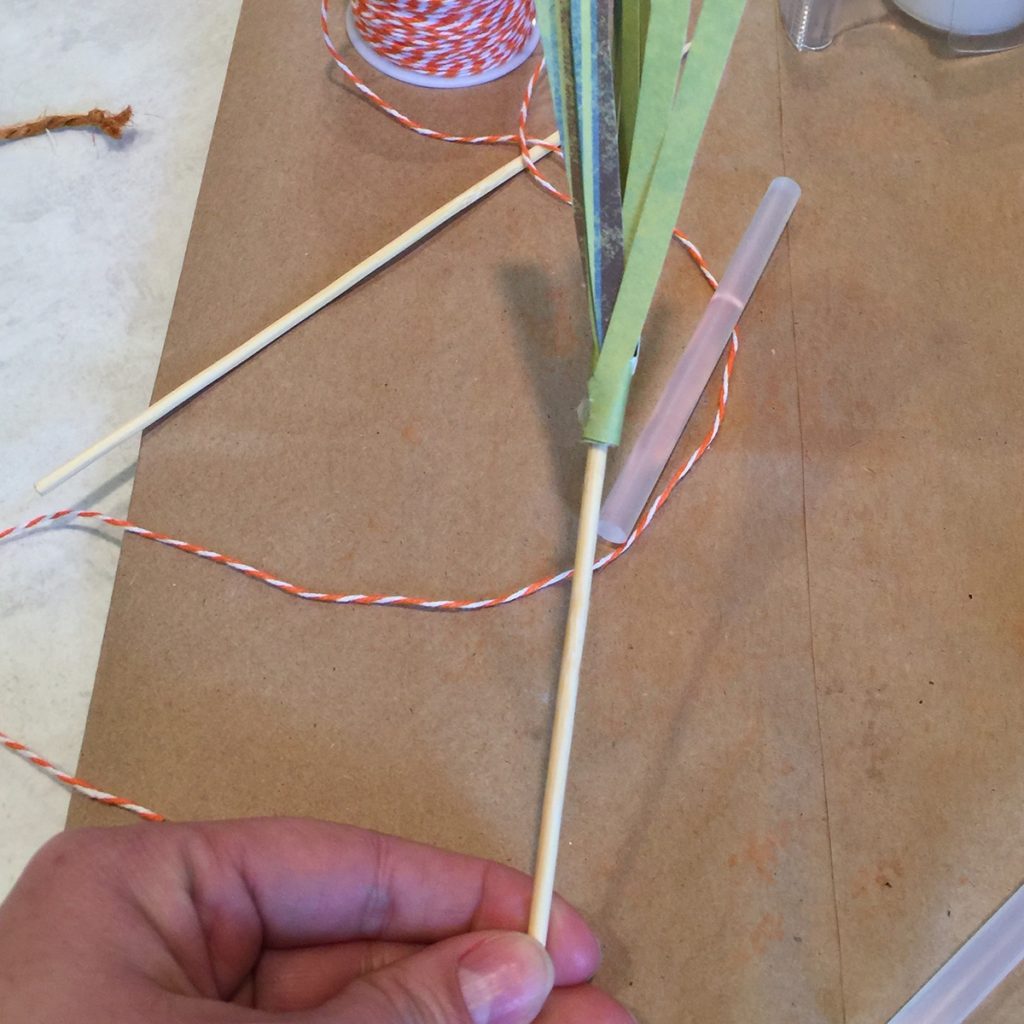
Step four: Hot glue your base to the greenery as shown. Roll the greenery around the base until its all wrapped around the base and glue the loose end as shown.

Step five: Tie a knot in the end of your twine, hot glue the knot to the opposite end of the base, let the glue set. When tying the knot in the bakers twine I tied three to four knots on top of one another to make sure I had a knot larger enough to cover the end of the skewer.

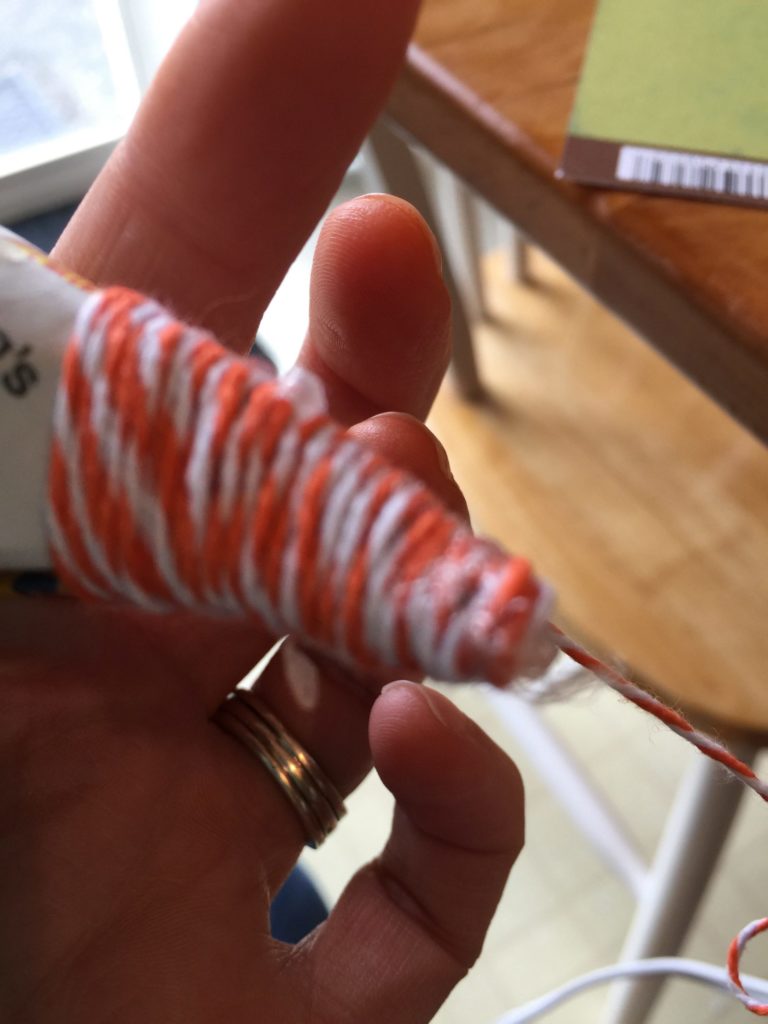
Step Six: Wrap the twine around the base holding any tail of twine against the base and wrapping the twine over the top of it to hold it in place. Wrap your twine the whole length of the base and up and over the bottom of your greenery.
Step seven: Wrap the whole length again from top to bottom, then continue wrapping up and down the length of the carrot layering more twine at the top and down the center until you have a carrot shape that you are pleased with.
Step eight: Hot glue the end of your twine in place and you are done.

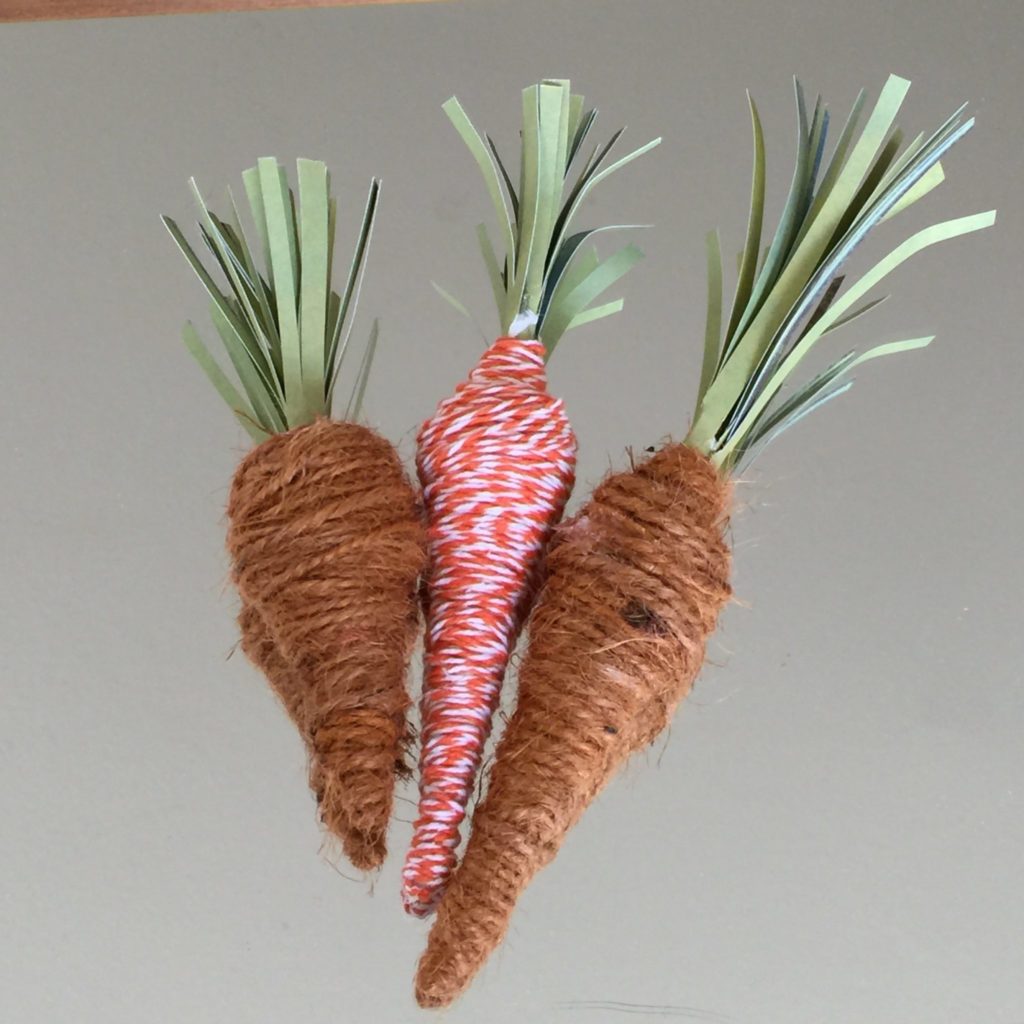

Now you have a beautiful rustic twine carrot that you can use around your house or on a wreath to decorate for spring or Easter! You can make these fun carrots in any color that you wish!
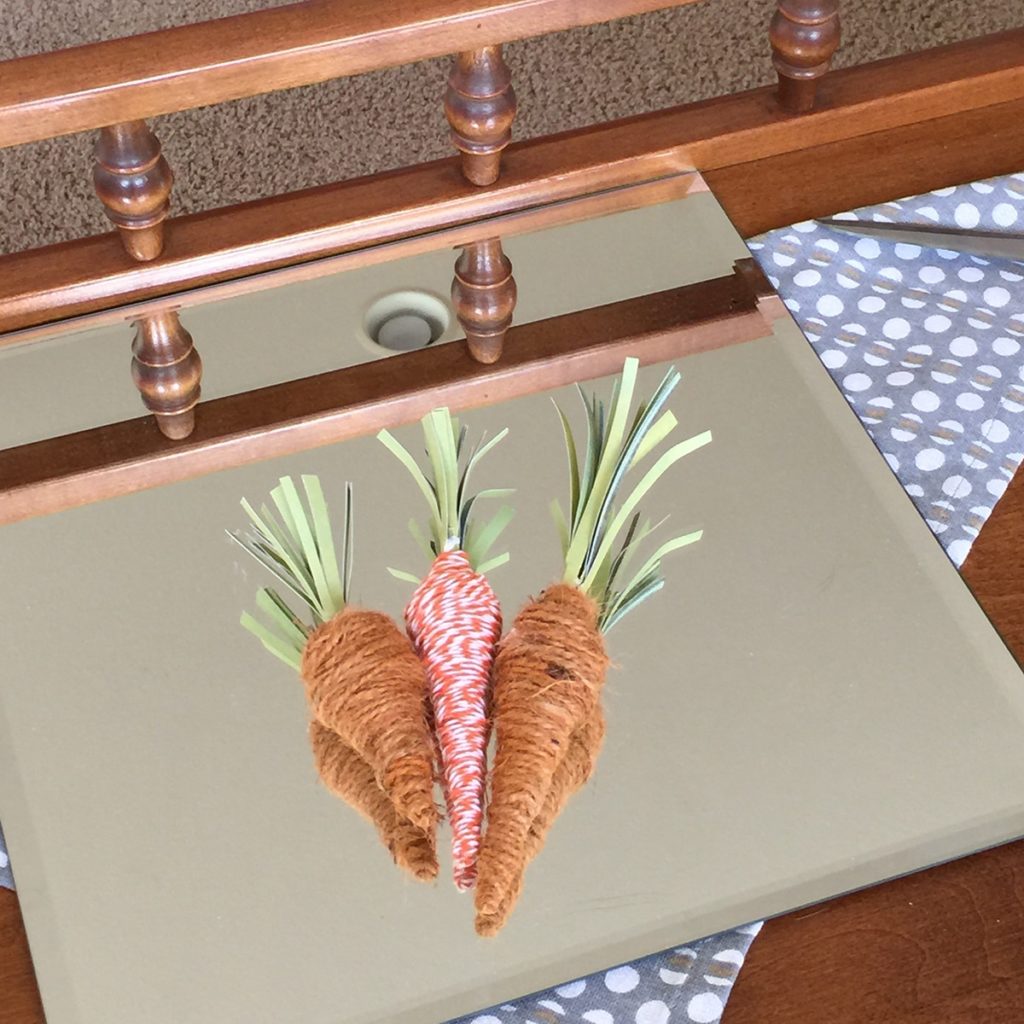
Visit my Etsy store, www.bethannerickson.etsy.com if you would rather purchase this set of three rustic carrots.
Coming soon, Mason Jar Easter Baskets and watercolor Easter egg garland