How to Buy and Edit Canva Templates from Etsy
Hey friends,
If you've ever browsed Etsy for digital goodies, chances are you've come across Canva templates—and maybe wondered how they actually work. Well, good news! I just uploaded a step-by-step video on YouTube showing exactly how to purchase, download, and customize Canva templates from my Etsy shop.
Whether you're making something fun for a party or creating a beautiful wedding suite, Canva makes it super easy. And no, you don’t need to be a designer to use them.
And if you’re ready to browse and get started, you can check out my shop here:
Beth Ann Erickson Designs on Etsy
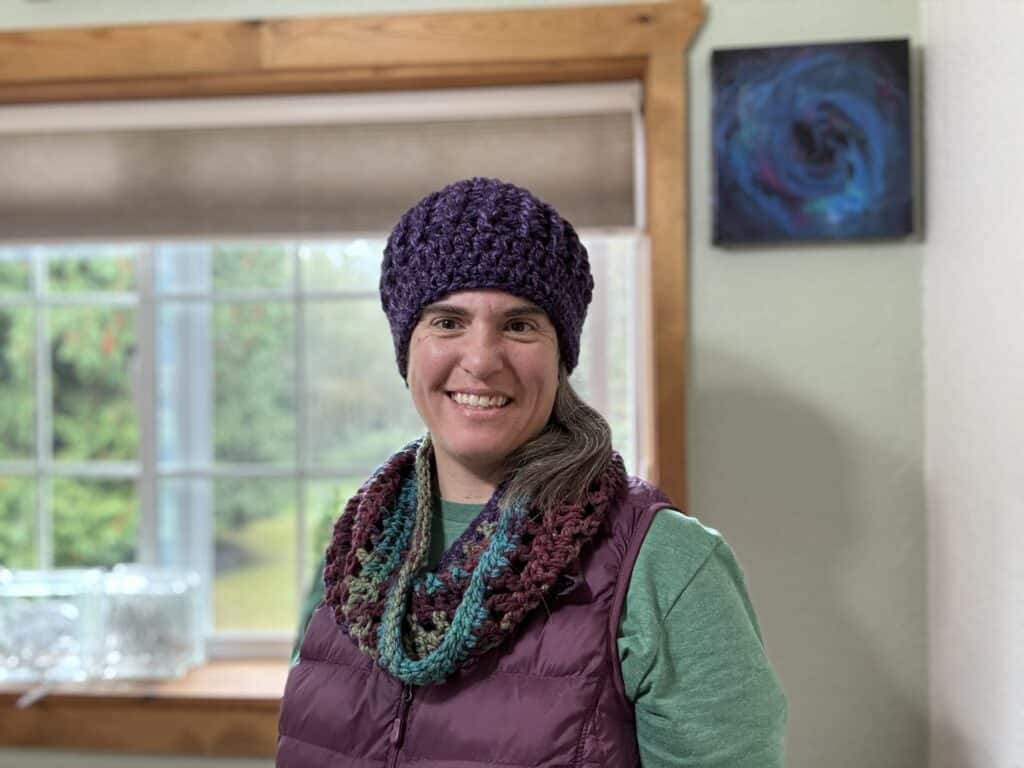
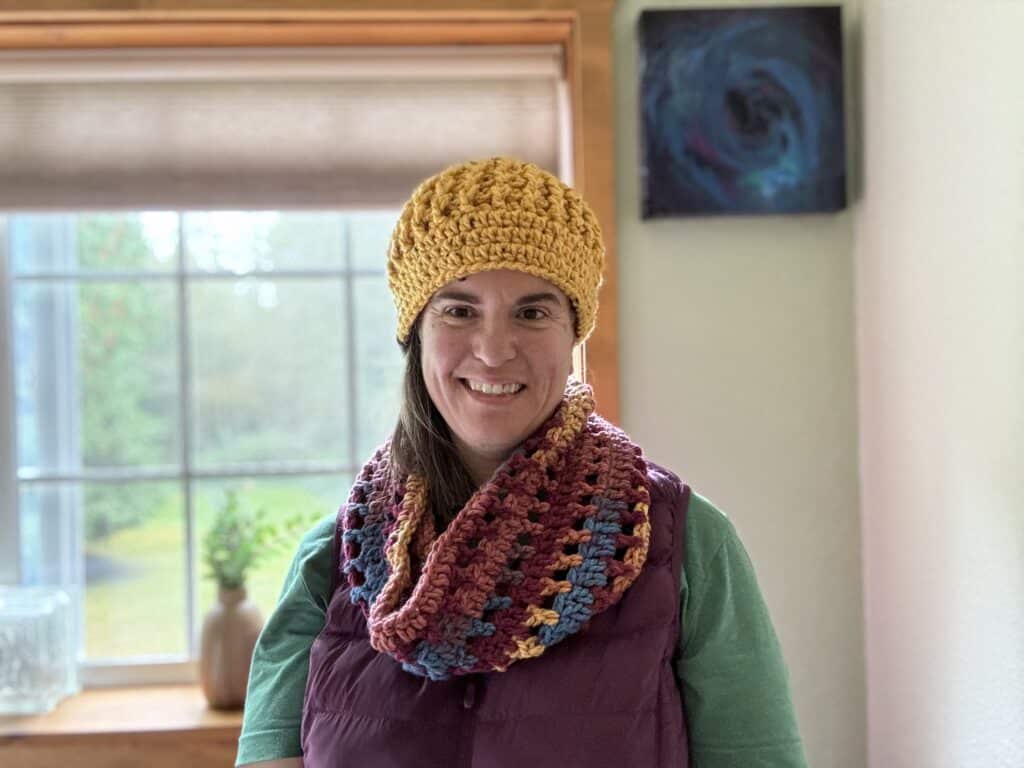
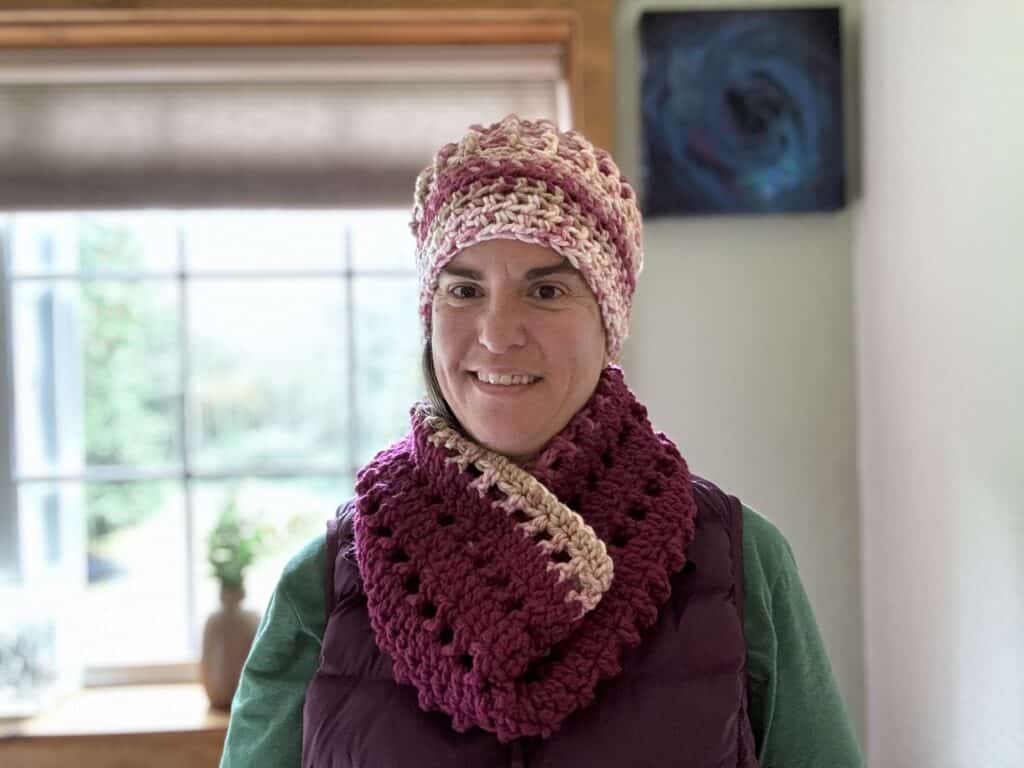
What Kinds of Templates Can You Get?
I’ve packed my shop full of beautiful, easy-to-edit templates for all sorts of occasions and needs. Here are just a few:
- Recipe cards – perfect for gifting or organizing your own collection
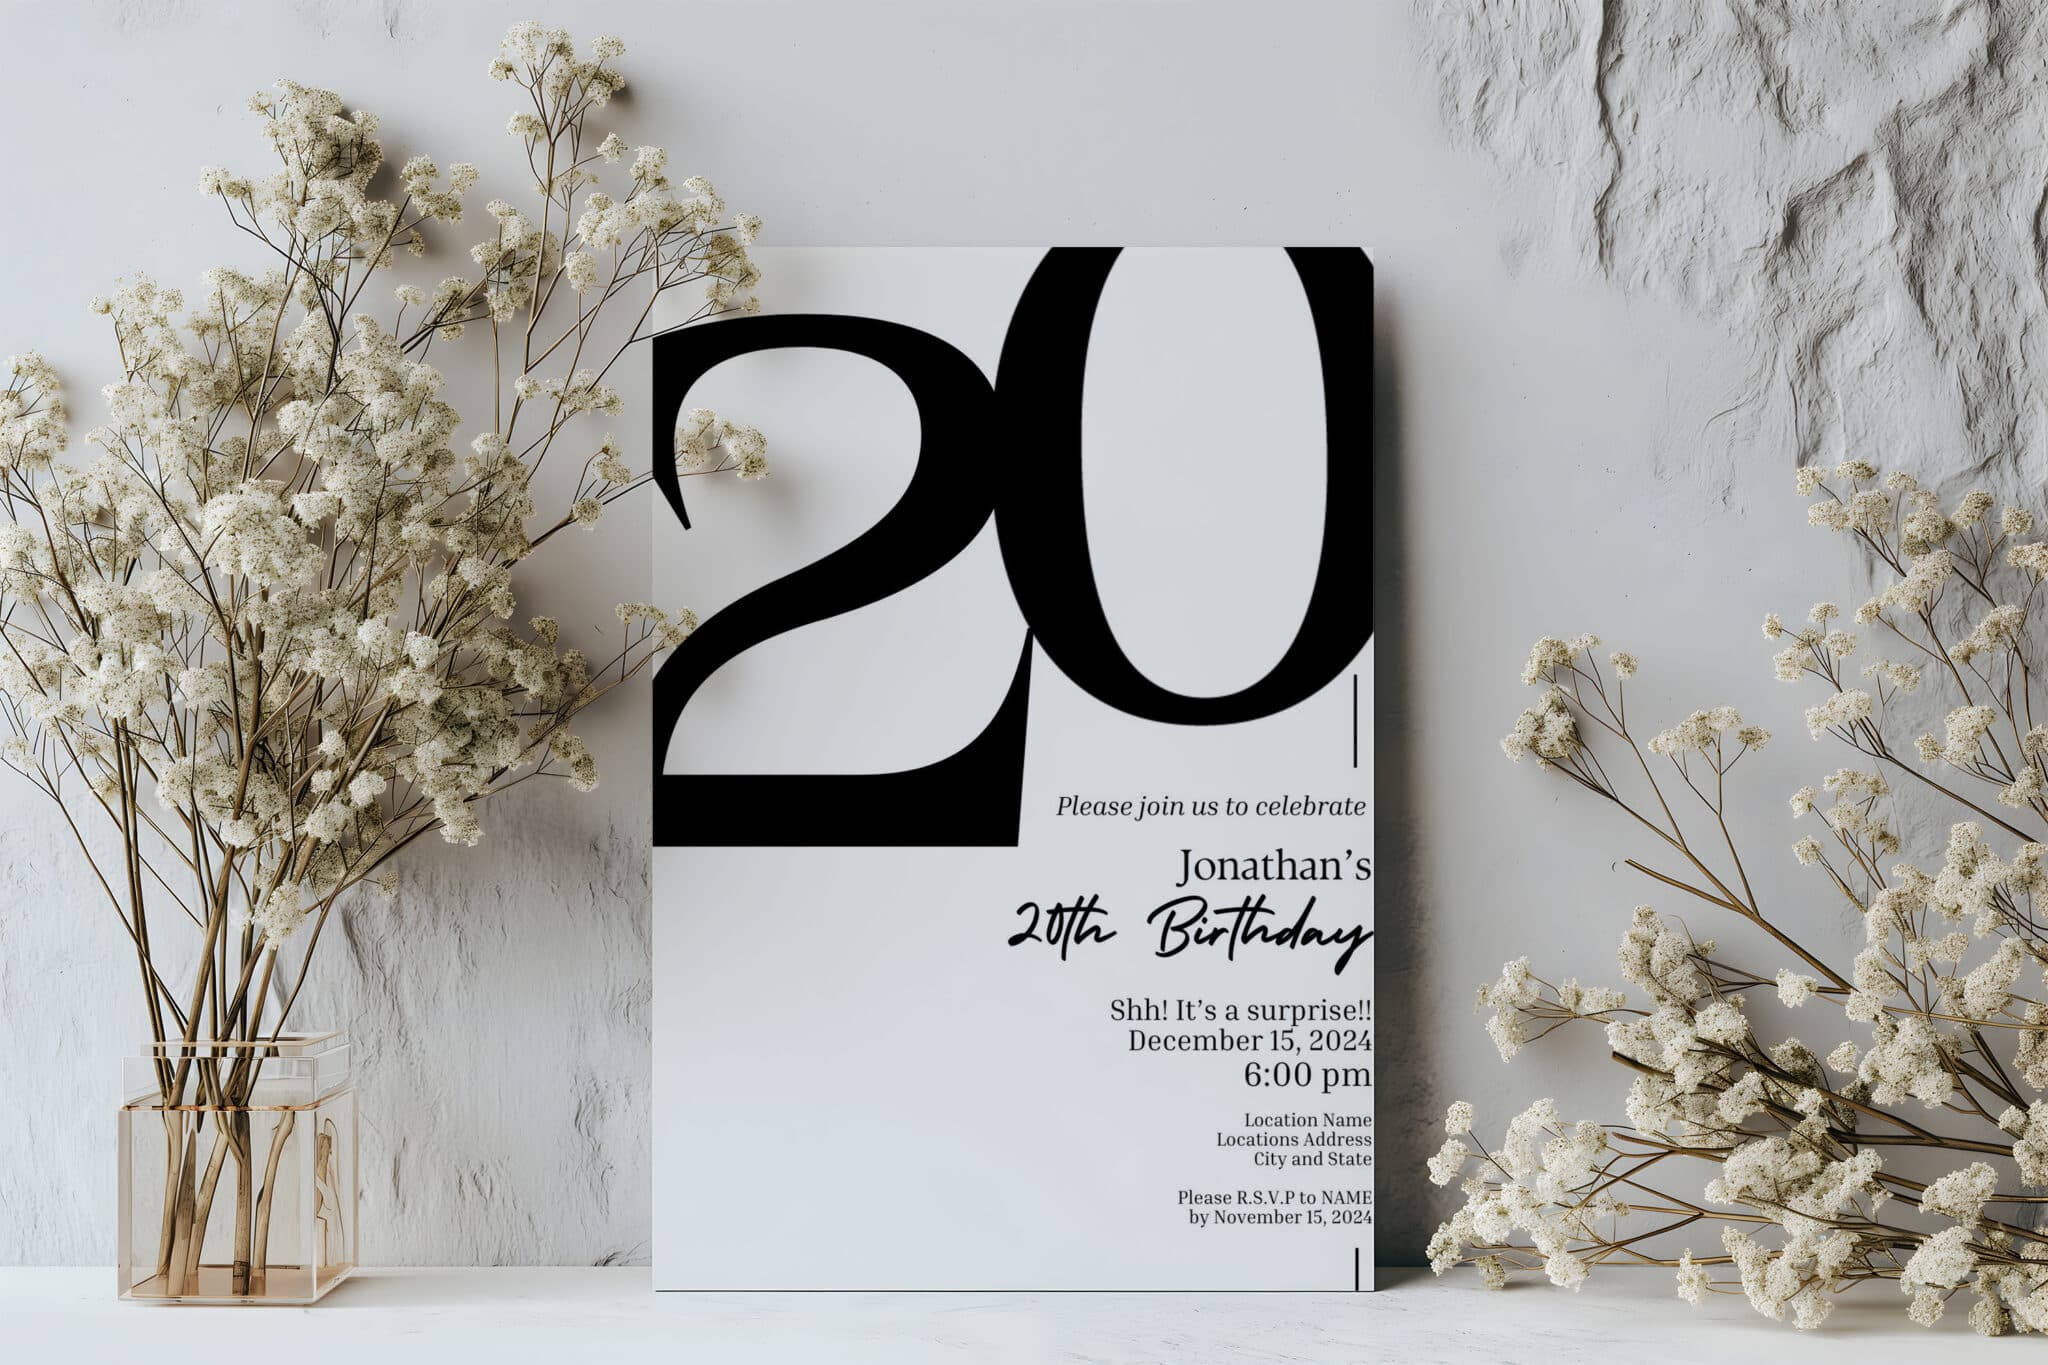
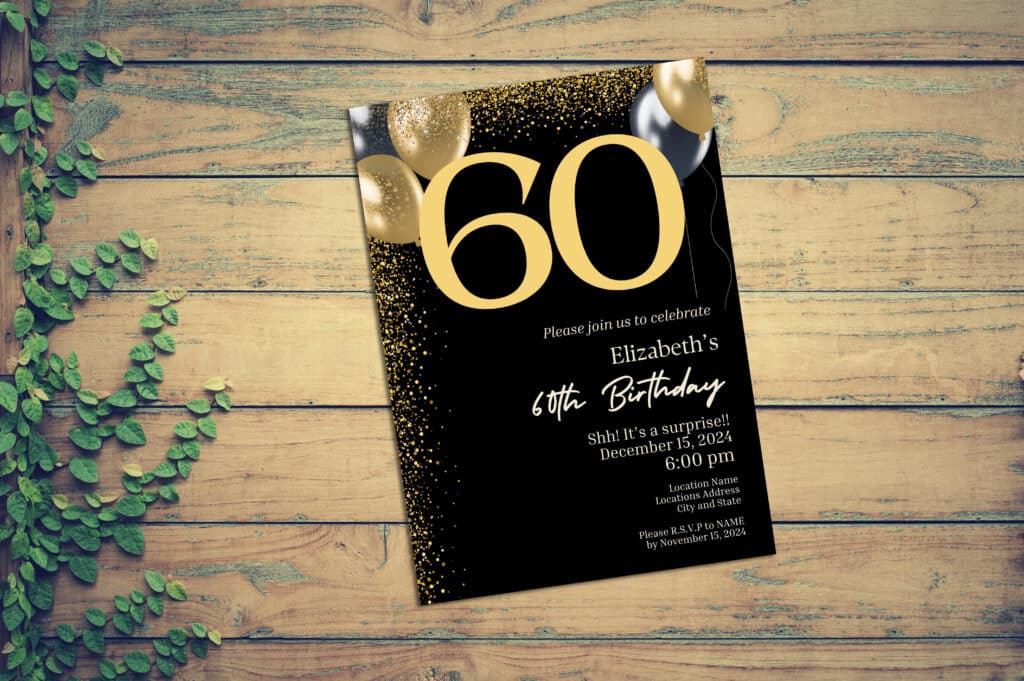
- Birthday invitations – fun, fresh designs you can personalize in minutes
- Wedding invitation suites – elegant, coordinated templates to fit your vibe
- Wedding signage and programs – welcome signs, seating charts, ceremony programs, and more
- Gift tags – cute and classy for holidays, parties, or handmade gifts
- And so much more
Whether you're planning a big event or just want to make something personal and pretty, there's a template for that.
How It Works (Yes, It’s Super Simple)
If you’re new to this, don’t worry. Here’s a quick breakdown of how to go from “just browsing” to “look what I made” in a few easy steps:
1. Choose your template
Head to my Etsy shop and find the template that fits your style and need. Add it to your cart and check out like usual.
2. Download your access file
After purchase, Etsy will give you a PDF file with a link. This link takes you straight to Canva where your template is waiting.
3. Open in Canva (a free account works just fine)
Click the link, and Canva will prompt you to log in or sign up. Once you're in, the template will open up in your editor.
4. Customize it
Now the fun part! You can update the text, change fonts, switch colors, swap images—whatever you want. Make it totally your own.
5. Download and print or share
Once you’re happy with your design, download it as a PDF, JPG, or PNG—whatever you need. Print it at home, send it to a print shop, or share it digitally.
So if you've been wanting to try Canva templates but felt a little unsure where to start, this video is for you. I walk you through everything from purchase to final download. It’s beginner-friendly, and I promise you’ll feel like a pro by the end.
Got questions? Drop them in the YouTube comments or message me on Etsy. I’m always happy to help!
Thanks for stopping by—and happy designing!