For The Love Of Mason Jars

6 Mason Jar Tutorials Revisited
Maybe it’s just me, but I am obsessed with Mason jars. I am always looking for a new way to use them and I am still coming up with a few new ideas here and there! With the beginning of the New Year, I thought this would be a good time to revisit six of our previous Mason jar tutorials, along with a few new ideas and a glimpse into coming tutorials.
We have touched on how to use mason jars for gifts, storage and how to use the lids and rings to create unique memories for your Christmas tree.


But first a little Valentines Day treats! New to the Etsy shop are two instant downloads that can be used on a Mason jar or a milk bottle to make a sweet treat for your special someone! These downloads are designed to match two candies, Reese’s Pieces and Red-hots! Click the images above to purchase the download and complete your own Valentine’s Day project. Then read on to review our previous Mason jar tutorials and find on that fits your needs.
Tutorials revisited:


- The Art of Mason Jar Gifts • Using Mason Jars as gift baskets.
(www.bethericksondesigns.com/allthingscreative/2016/4/25/the-art-of-mason-jar-gift) - The Art of Mason Jars and Chalkboard Paint • Using mason jars as canisters.
(www.bethericksondesigns.com/allthingscreative/2016/5/30/the-art-of-mason-jars - Pumpkin Granola and The Art of Hostess Gifts • Pumpkin granola packaged in a mason jar for a hostess gift, free recipe and download included. (www.bethericksondesigns.com/allthingcreative/2016/11/10/pumpkin-granola-and-the-art-of-hostess-gifts)
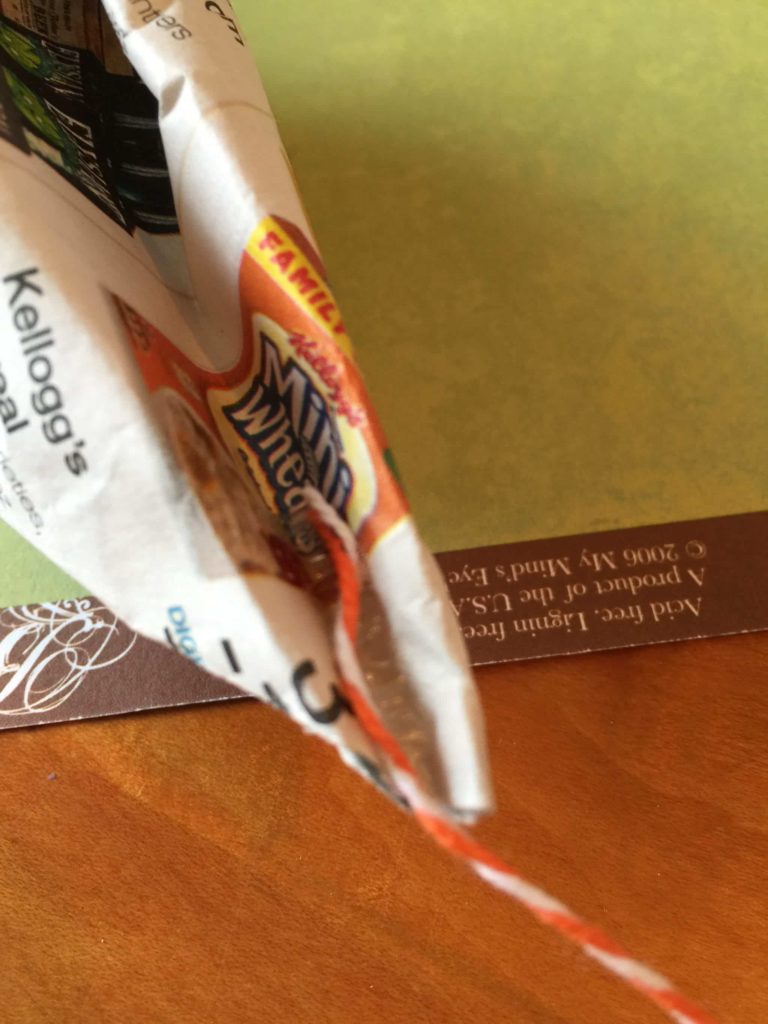
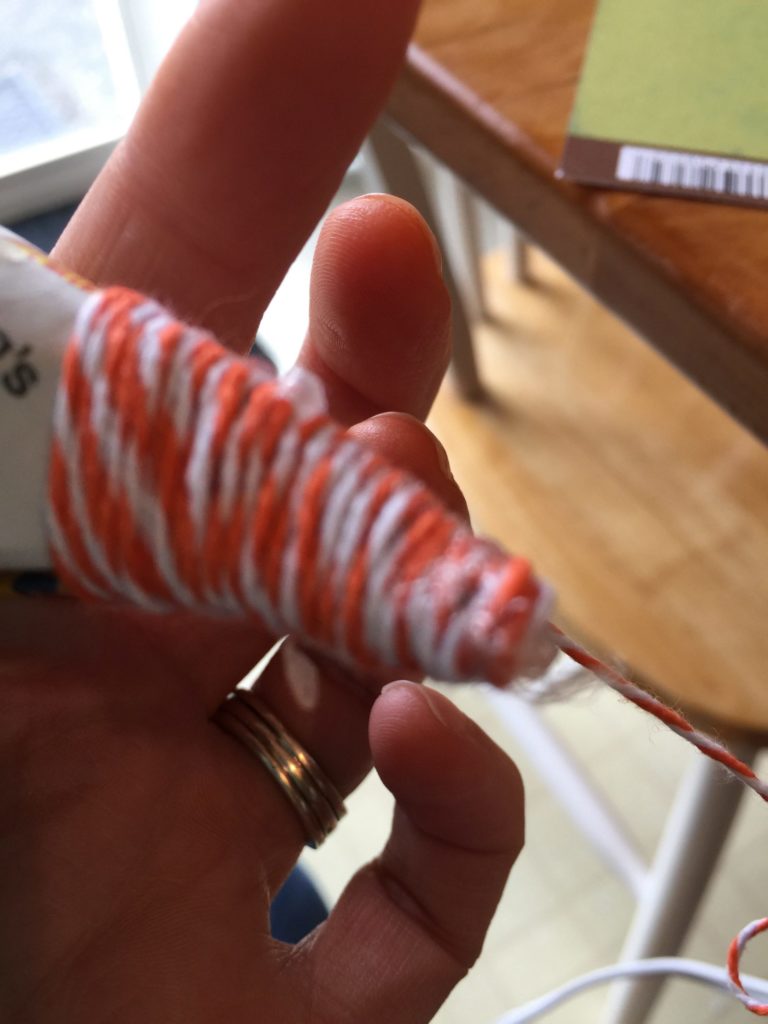
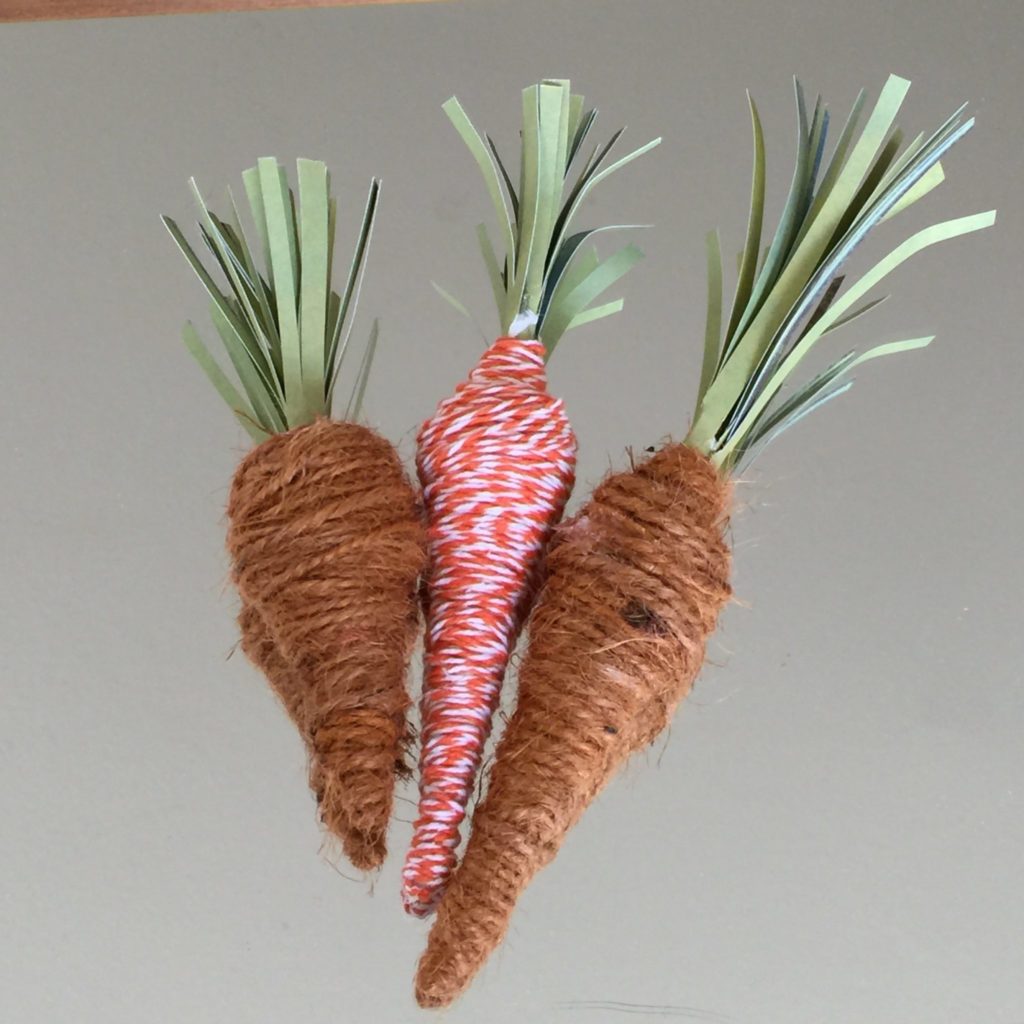
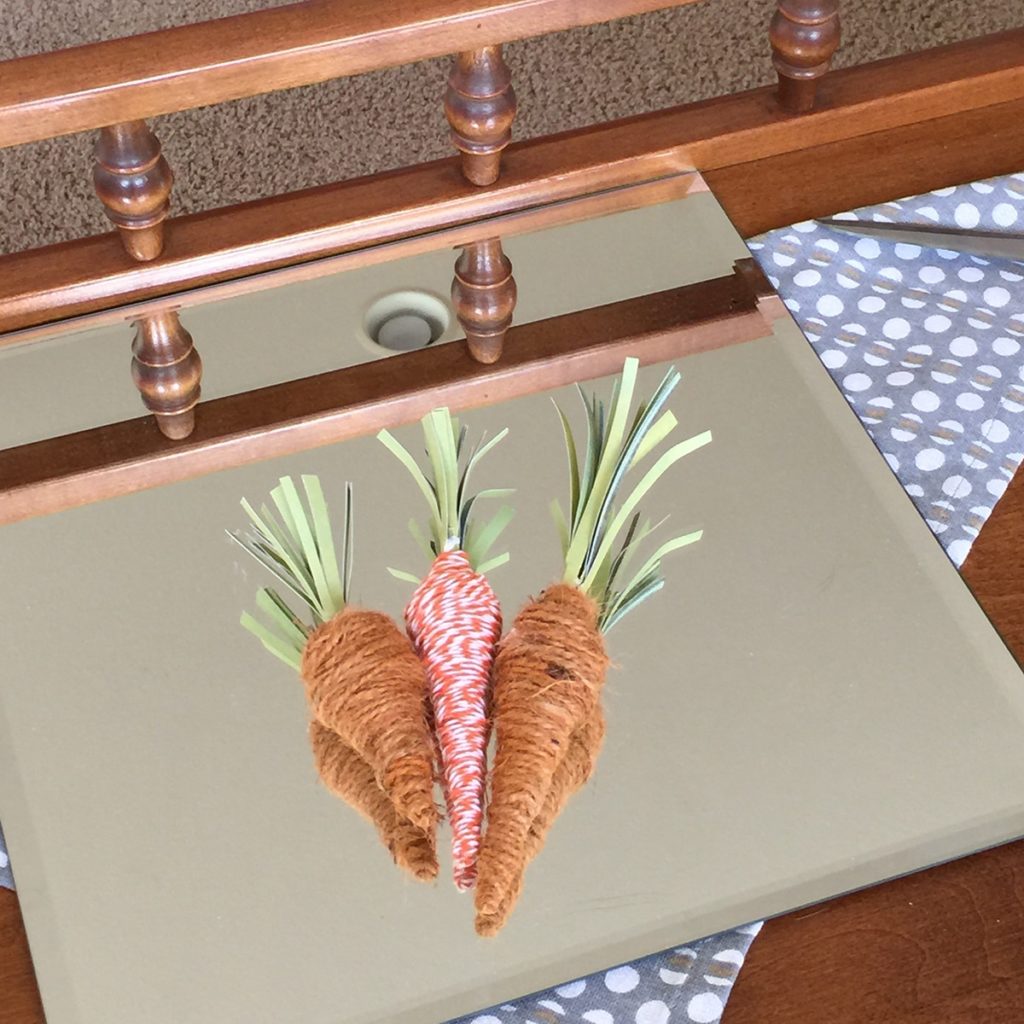
- Mason Jar Easter gifts • Using Mason jars as Easter baskets with a free download.
(www.bethericksondesigns.com/allthingcreative/2017/3/29/mason-jar-easter-gifts-free-download) - Father’s Day Gifts Simplified • Dad has everything he needs right? Why not tell him how you feel about him with a themed candy jar.
(www.bethericksondesigns.com/allthingscreative/2017/6/9/fathers-day-gifts-simplified) - Homemade Christmas Ornaments • Photo Christmas ornaments made from Mason jar rings and lids.
(www.bethericksondesigns.com/allthingscreative/2017/12/14/diy-homemade-photo-christmas-ornaments)
I am sure these are not the last Mason jar ideas I will come up with, but I thought it might be helpful to have them all listed in one place for easy reference! I am sure if you searched online you could probably find a ton more! Why? Because Mason jars are really just so much fun to find new use for! From vases to water glasses and so much more!
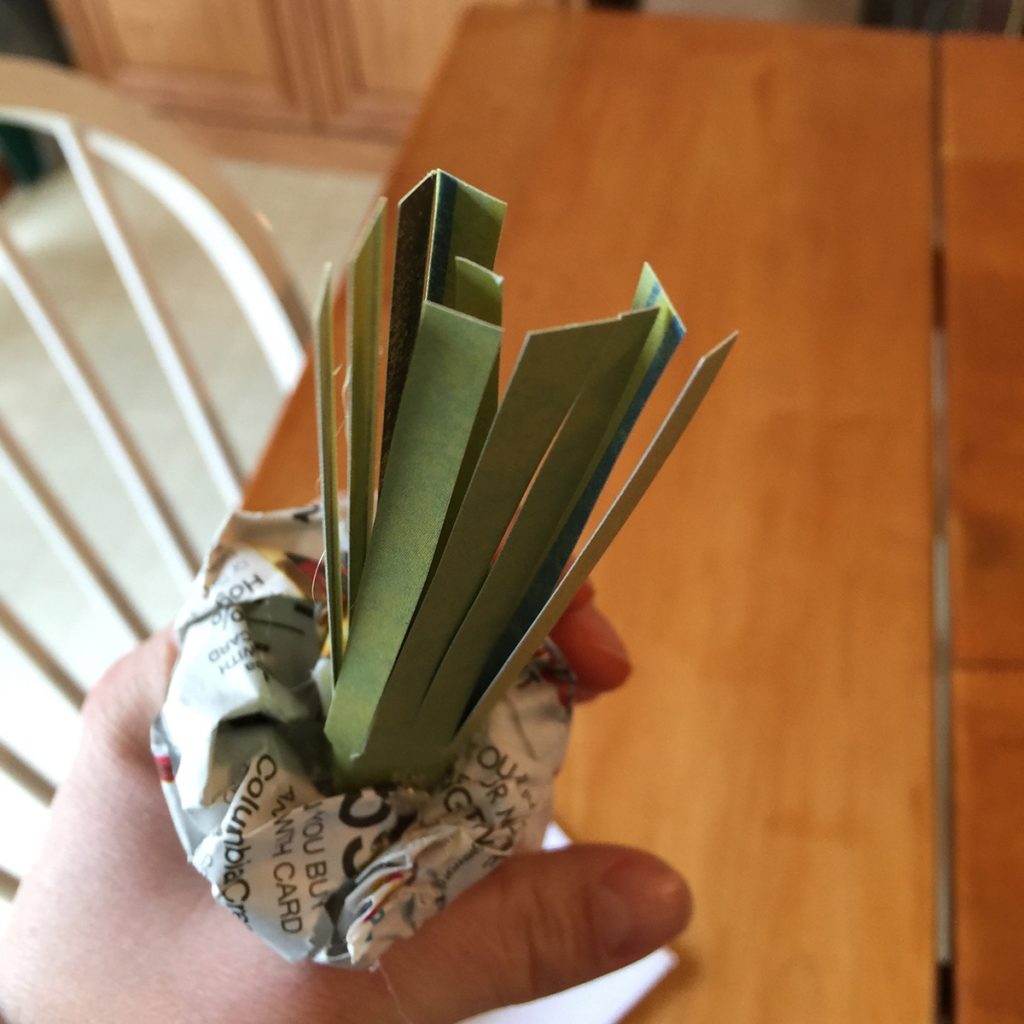
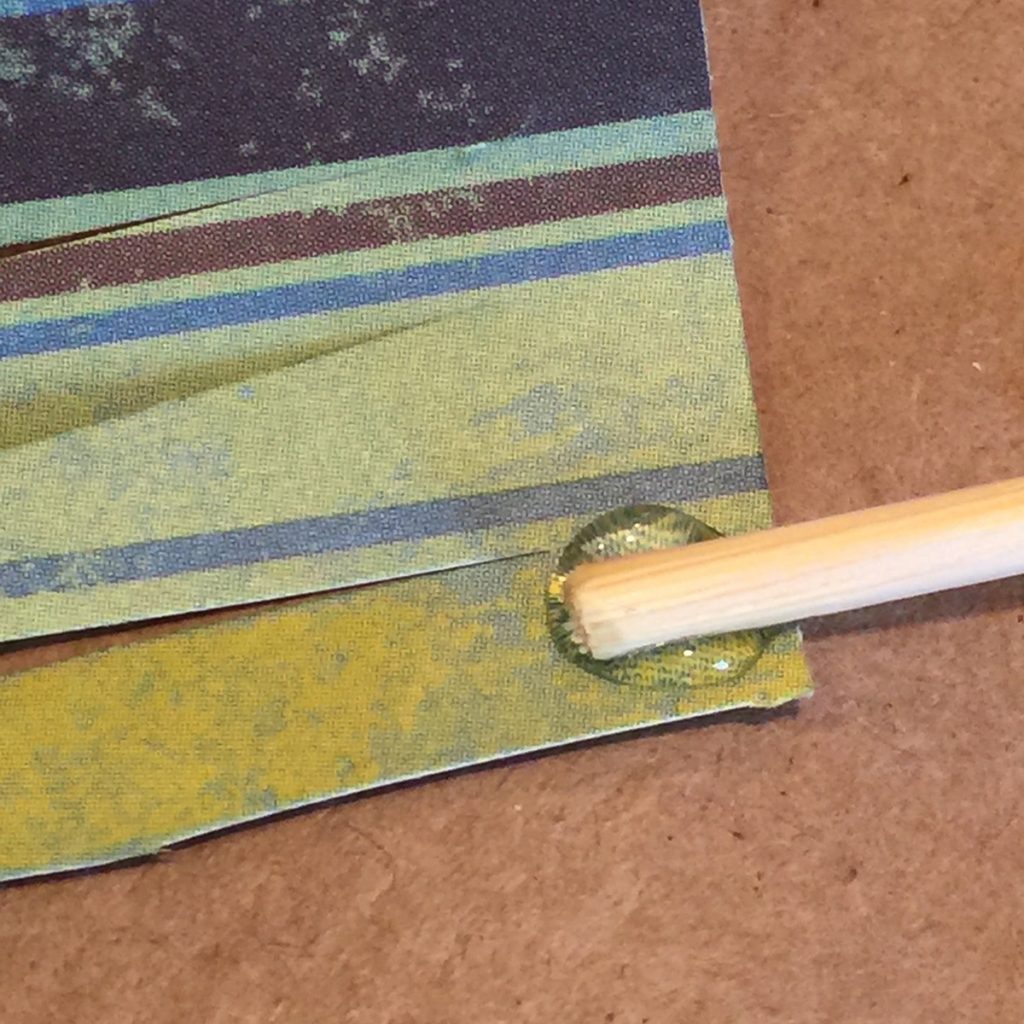
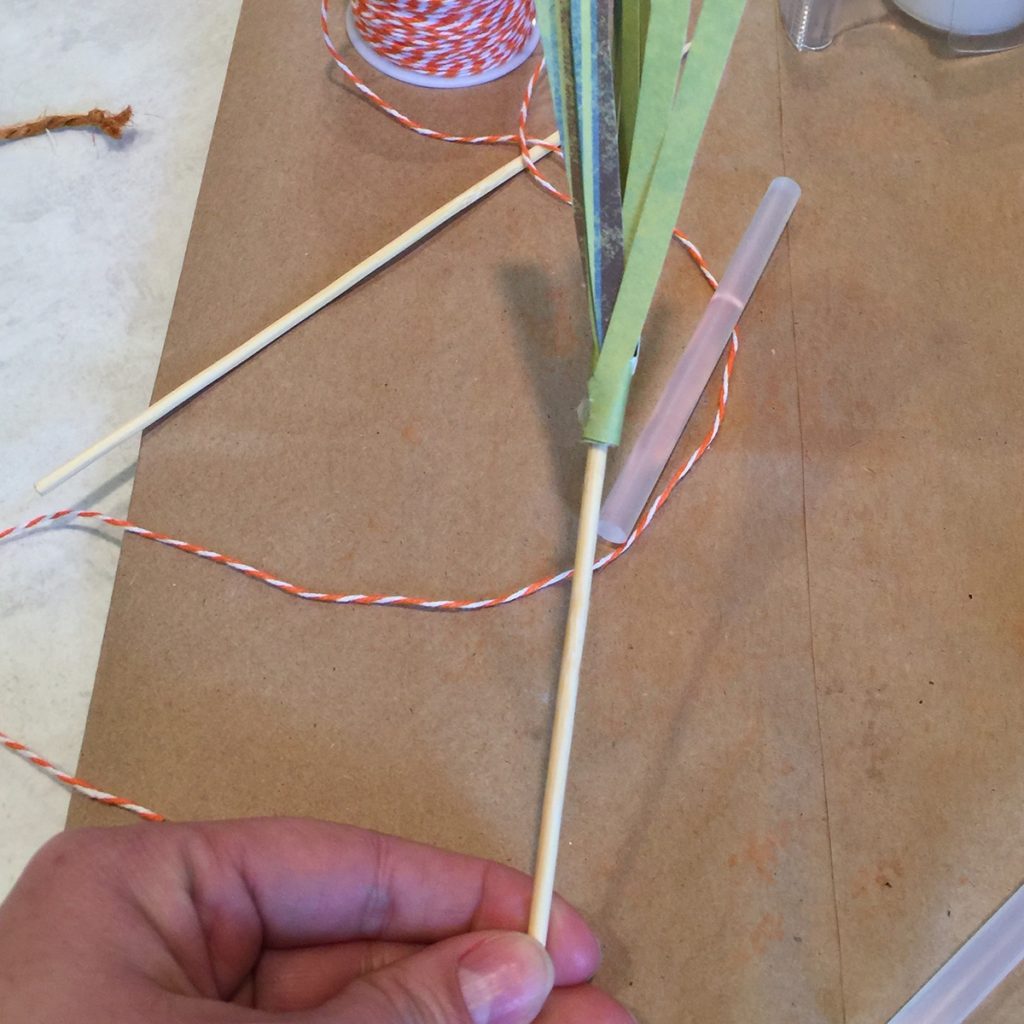
Just to prove my point, coming soon to the blog I will have a tutorial on making table numbers for your wedding or party using the Mason jar rings, lids and wine or sparkling cider bottles.
Visit www.bethericksondesigns.com for other great tutorials and daily encouragements!