Rainy Spring Day Project • DIY Journal

WELCOME
Welcome to my blog! This is my very first entry and hopefully, it will be the start of something wonderful! This blog is dedicated to all things creative. What falls within that category is well...completely up to me. I am an artist, graphic designer, and an Etsy seller (www.bethannerickson.etsy.com). I always have some sort of craft, art, or design project running through my head, and what better way to put them to good use than to share them with you. I hope you enjoy this blog and find it informational, fun, and useful!
JOURNAL TUTORIAL
Personalizing your own journal or notebook is a very simple and affordable project. It only takes an hour at the most, but usually less. There are a variety of images available for sale online. They come as an instant download in a JPEG or PDF format that you can download and print on your home printer. You get to choose what type of paper you would like to print it on, what style of journal you would like to affix it to, and the color combinations that are most pleasing to you. To guide you through the process I have detailed the steps below. Follow these simple steps and you will have a journal that uniquely yours! It's a perfect project for a rainy spring day! The images used in this tutorial come from Etsy (www.bethannerickson.etsy.com) and there are many more to choose from besides those posted here.
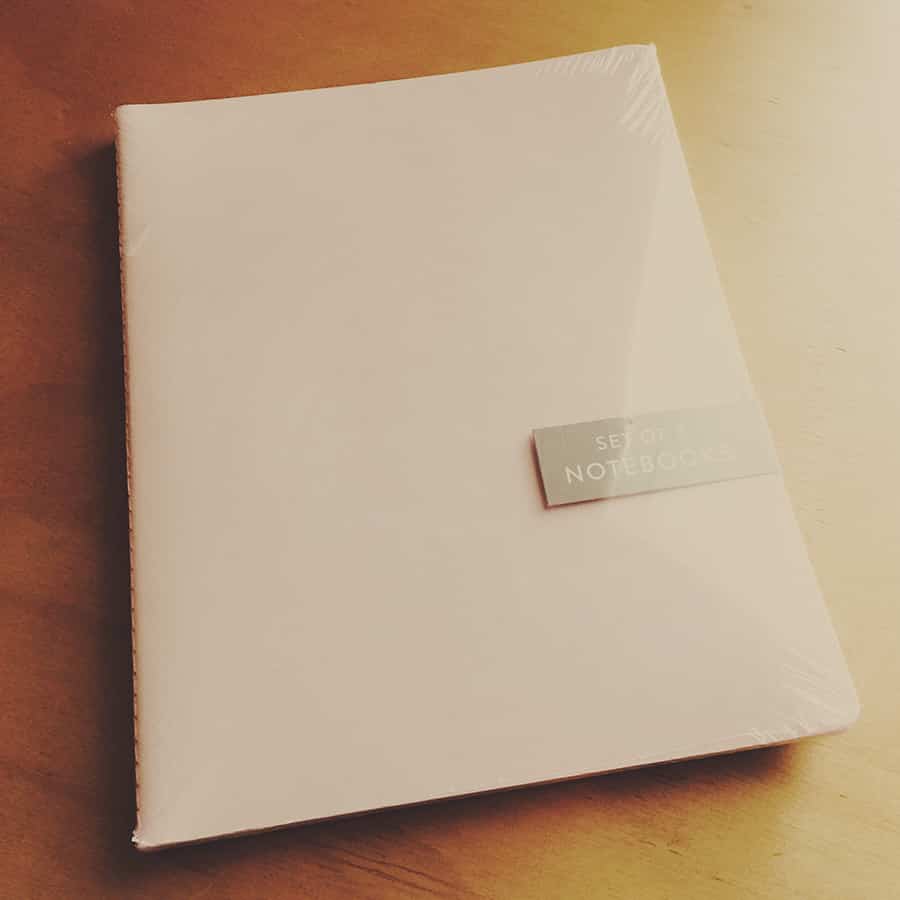
Journals small 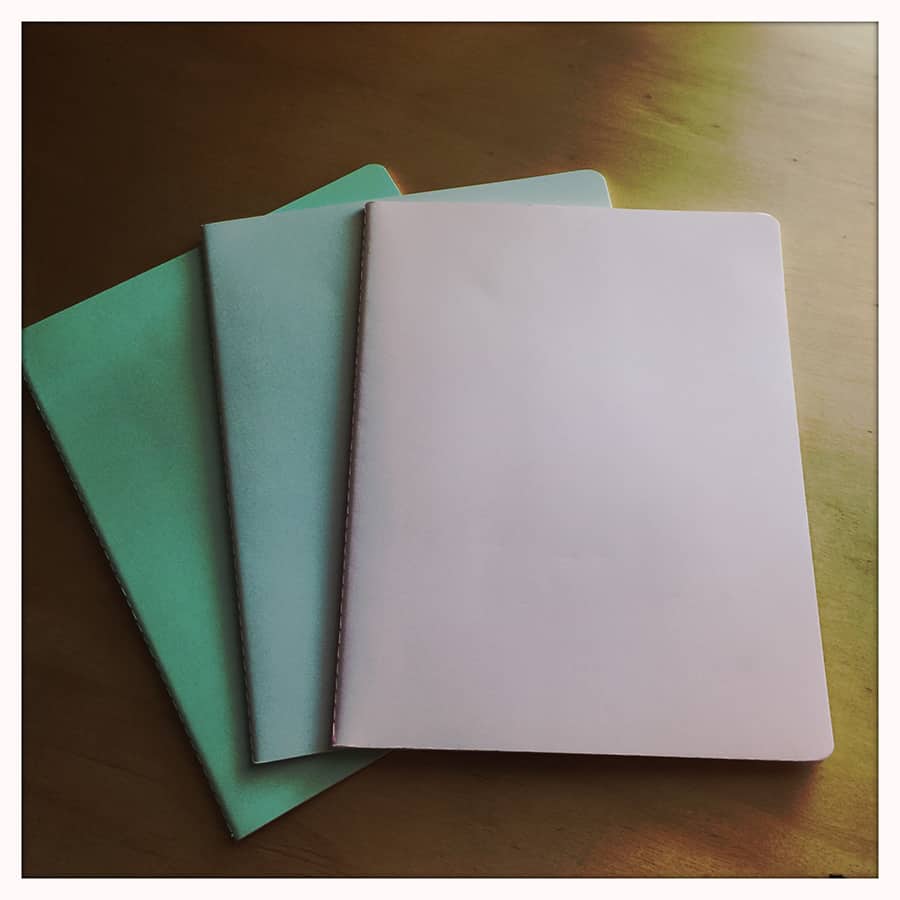
journalcolors
Step One: Purchase a journal or notebook. I found mine at Marshall's but I have also located them at Ross, TJ Max, Michaels, Hobby Lobby, Amazon or PaperSource. (Cost approximately $2.99 - $5.99).
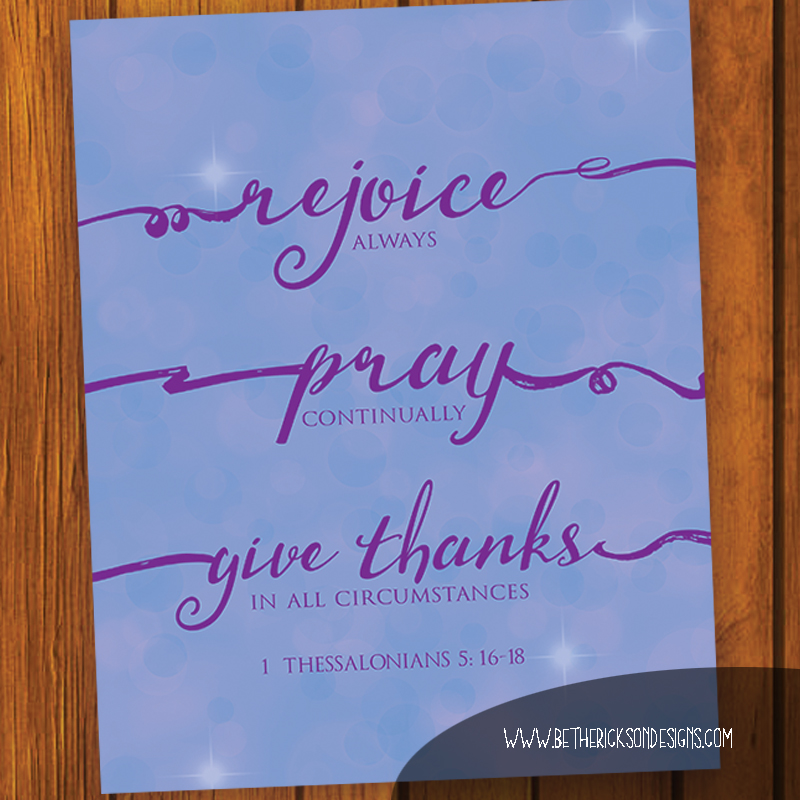
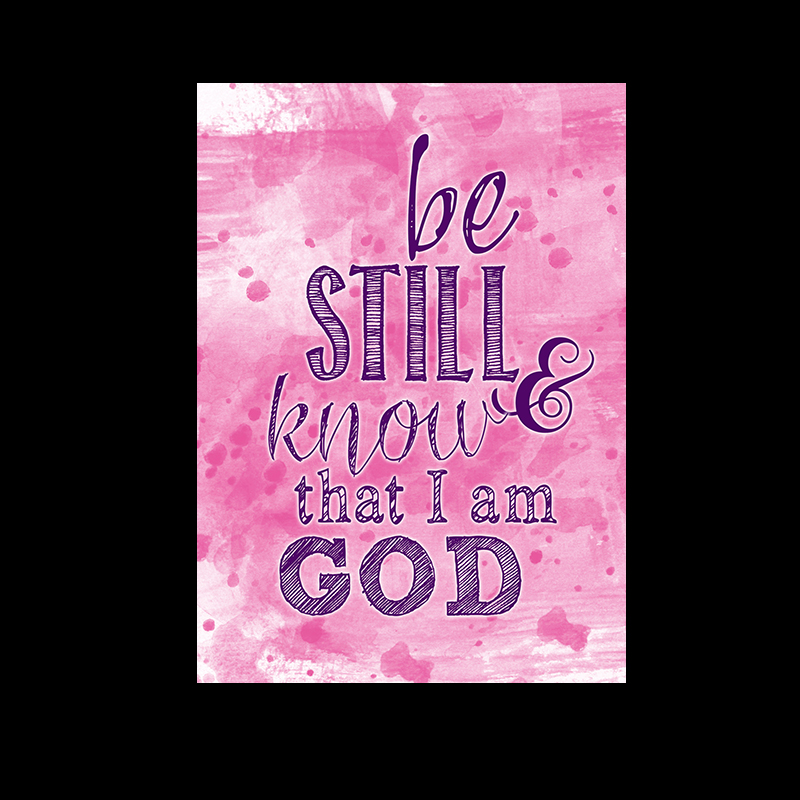
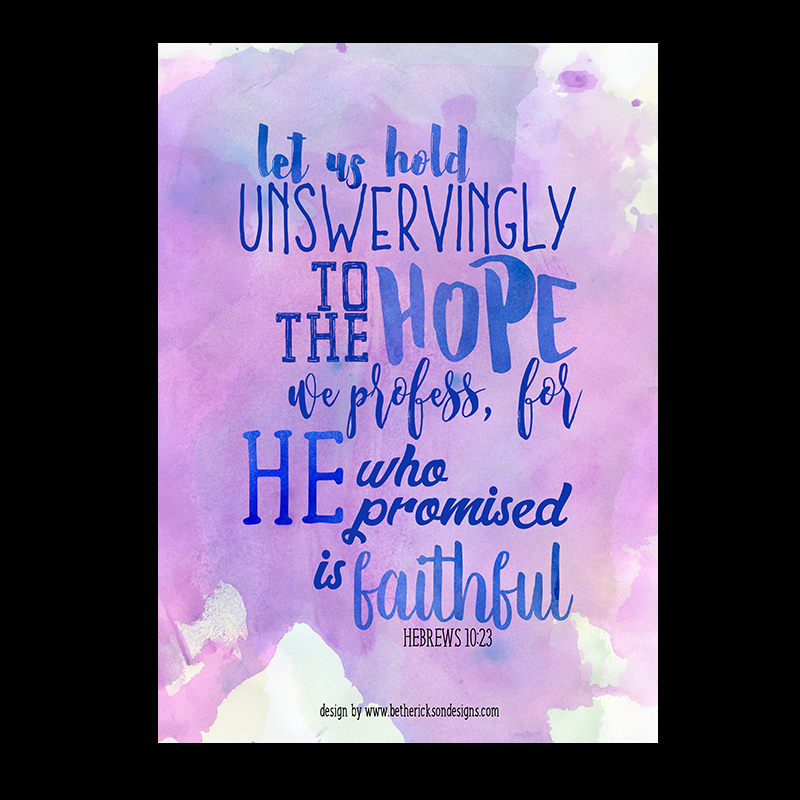
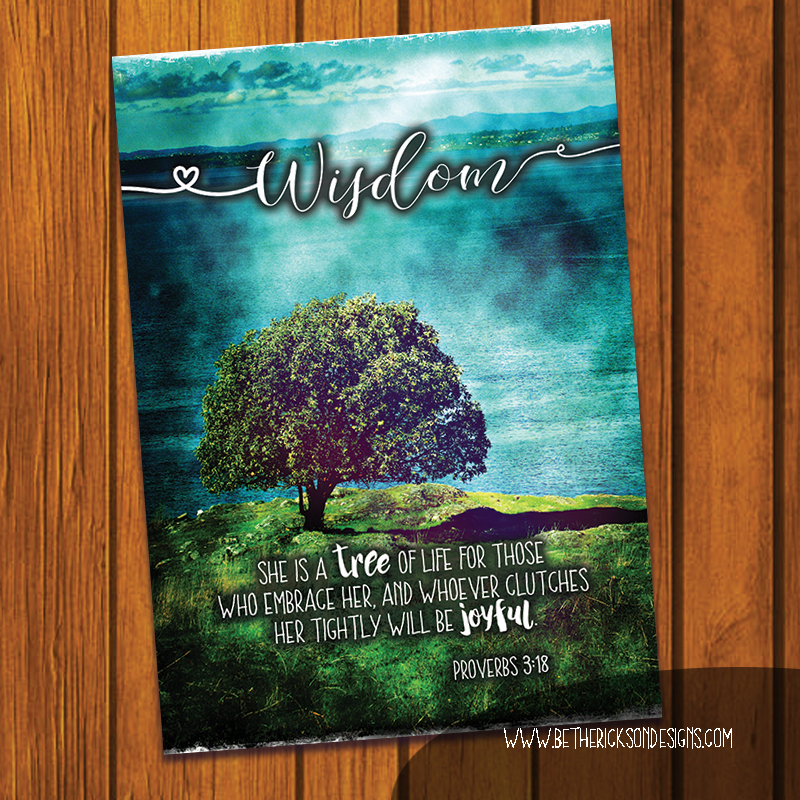

Step Two: Search Etsy (www.bethannerickson.etsy.com) for the image you would like to purchase, print and download. (The images I used cost about $3 each). Make sure you are choosing images that fit your journal. The ones I used were 5x7 sized. Purchase and download your images.

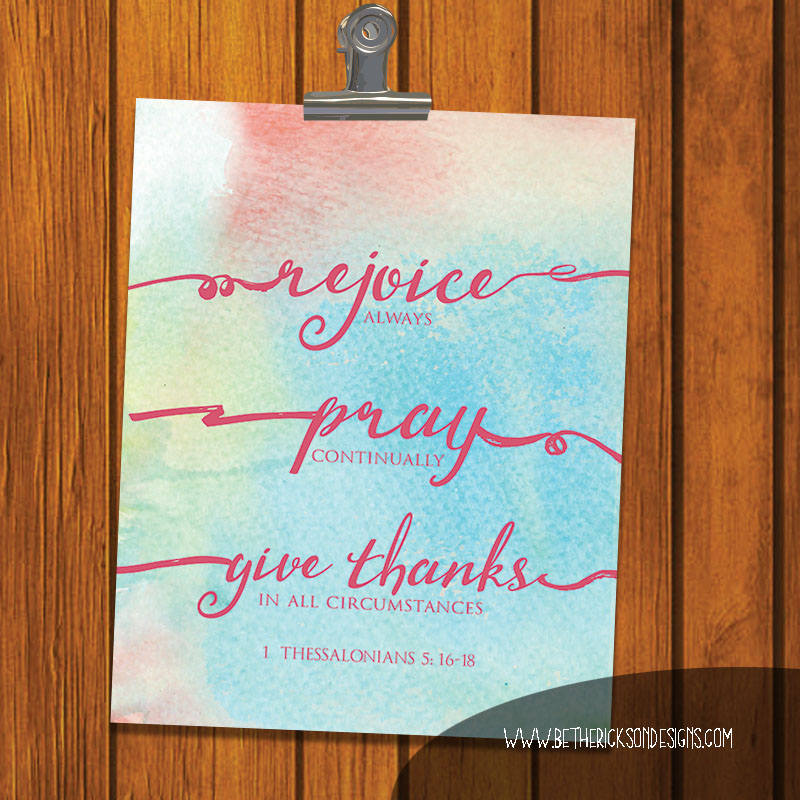
Step Three: Decide what type of paper you would like to print your image on. You don't have to use a special paper like I will outline here if your trying to keep your costs down. You can use whatever paper you have at home. Some ideas for paper are Canvas Paper, Bristol (Card Stock) or Watercolor paper as shown in the photo. I chose to use watercolor paper for my prints.

Step Four: Print your image in color onto the paper of your choice and trim the image to the appropriate size to fit your journal using scissors or a paper cutter as shown here.

Step Five: Using Glue dots, glue stick, or scrapbook tape or glue affix the print to the cover of your journal!
It's that easy, now you have your own customized journal that is uniquely yours! This project also works well for gifts! As you can see from my pictures my notebooks came in a set of three so now I have three journals. I can use all three as a gift set or keep one for myself and give the others away.