I know, it has been a very long time since you have heard from me. Life has been crazy busy with school starting, driving my step-son to his bus every day, getting my husband ready to go hunting, fall activities and working on fall and Christmas projects. I had a very successful Ladies Only Fall Craft Day, where we made wood pumpkins and cinnamon stick ornaments and since then I have been working on my birch wood ornaments and gift tags! These two projects are very simple to recreate in your own home or you can purchase from me on Etsy by visiting this link, www.bethannerickson.etsy.com!
The Christmas ornaments and gift tags in the following tutorial are perfect for the rustic Christmas tree or rustic themed gift wrapping and will add an unique touch to your wrapping or decorating. They are also very affordable simple and to make.

Step One: Layout your wood rounds on a covered work surface. I use paper grocery sacks.

Step Two: Decide if you want to paint all of your wood rounds black or leave some of them natural. Paint a black circle that does not reach all the way to the edge on the ones you want to be black. Let dry completely.
Step Three: While you are letting these dry, you can draw or write on the unpainted wood rounds with your black sharpie. As you can see from the pictures, I drew an owl, snowflakes or holiday greetings. The possibilities are endless.

Step Four: When your black paint is dry, use your chalk pen or white gel pen to draw your snowflakes, holiday greetings or other art on top of the chalk paint. Let dry completely.
Step Five: If your wood rounds or wooden gift tags did not come with pre-drilled holes you need to choose which side is the top of your ornament and drill your hole there.

Step Six: Add your chosen twine, ribbon or string through the hole as the hanger and your project is complete!
See, wasn’t that so very easy! Just 6 very simple steps and your project’s ready to go. If you don’t feel comfortable drawing on your ornaments or gift tags you can always buy stickers or rub on transfers that will show up on the black paint or bare wood. You might need to go over the stickers with a coat of Mod Podge to make sure they stay affixed and last from year to year.
Please feel free to comment, ask questions or send me pictures of your completed projects! I would love to see them!
Again, if you don’t have the time to make your own, you can visit my Etsy store to purchase.
Thanks for reading and enjoy the fall weather! This time of year is the perfect time of year for craft projects!
Hello my friends! Today I want to give you some steps to make your own pallet board distressed sign! You see them in all the home décor and craft stores. You look at them, you think about them, an then you say, “I could make that!” But do you ever take the time to do it? Well, I have finally done it and found it was a very simple process!
I recently decided that the light blue guest bathroom in my house should be decorated in a beach theme. Everything I have been seeing in the craft stores revolving around a beach theme contained colors that would blend perfectly in my bathroom and I love all the signs and sayings that go with the idea of the beach. But of course being a crafter, my first thoguht is “I can make that!” My first idea to begin my beach themed bathroom was to make a sign that says “Life is better in flip flops!” I love my flip flops. I am always sad when I have to put them away for the winter. So, this saying is perfect for me. I also love the rustic distressed pallet board signs you are seeing everywhere, so I decided to combine the two.
The following tutorial will guide you through all the steps to complete a distressed pallet board sign.

Step One: Find pallets pieces you want to use for your sign, decide how much space you need and find boards that fit your needs.

Step Two: Sand your boards to remove rough edges and surfaces. Until you like the feel of them.


Step Three: Paint the boards with your chosen colors of chalk paint and let dry completely.

Step Four: Sand again in random areas to remove some of the paint on the corners and the middle of the boards to give it the “distressed” feeling.


Step Five: Attached the boards to one another using small strips of wood and a small nail gun or wood glue. (I purchased mine at the craft store and cut to size)


Step Six: Using a color that will stand out on your background color, paint your words using an appropriate brush or paint pen. Another option at this point is to purchase a vinyl sticker from an online vendor that is customized to your needs instead of painting your words or embellishments. I used a paint pen for my wording and purchased my flip flop sticker from Stickers by Stephanie on Etsy (www.StickersbyStephanie.etsy.com), which made adding an embellishment to my sign very simple! Stephanie's vinyl sticker worked great and was easy to apply. I felt her prices were reasonable and that she had a good turn around time. I would definitely purchase from her again. I chose to cut my vinyl sticker into two pieces so that I was able to position it better and it made applying it much easier. Make sure when you apply your vinyl sticker that the area is clean and free of dust. This will allow the sticker to adhere better.
Tip: When using a paint pen, depending on your colors you may have to go back over your wording several times until you think it is readable. My white paint pen was not showing up very well, so I continued to coat my letters until they stood out the way I wanted them too.

Step Seven: Attach your saw-tooth picture hanger to the back side and hang.

See its that easy! Seven simple steps and you have your own custom distressed pallet sign! Of course you could also just purchase one if you don't want to go to all that trouble. If so visit Lettera Nero Designs (www.LetteraNeroDesigns.etsy.com) or search on Etsy (www.etsy.com) to see some signs that are available.
Thank you for reading my blog and be sure to check out my Etsy store at www.bethannericksondesigns.etsy.com and follow me on Facebook, Instagram and Pinterest.
This week I thought it would be fun to give brides-to-be some ideas on how to coordinate the theme of their wedding all the way from save the dates, invitations, decorations, hair & make-up, to what to wear. Our theme for the purposes of this blog, will be a rustic wedding. Currently a very popular choice among brides, but sometimes hard to coordinate through-out the entire wedding, but I have some ideas on how to help with that. I am also very excited to introduce Molly of Lovely You By Molly, she will be contributing to the blog with the hair and make-up portion along with some wonderful hair tips for the day of the wedding!
A rustic wedding can be formal-rustic or casual-rustic. So, your first choice would be what direction do you want to take? After choosing your direction, it is then time to look for your save-the-dates and invitations, along with choosing your color combinations. Most people don't realize that your invitations and other printed items can help set the mood for your special day, along with decorations, clothing options, hair and make-up. Its a good idea to use your save-the-dates and invitations to give your guests a small taste of what the day will be like.
What things convey a rustic wedding theme? Well there are quite a few things that do this. Some ideas would be, wood backgrounds, mason jars, lanterns, chalkboards, brick walls, wood rounds, logs, stumps, wildflowers, cowboy boots, jeans and much more.
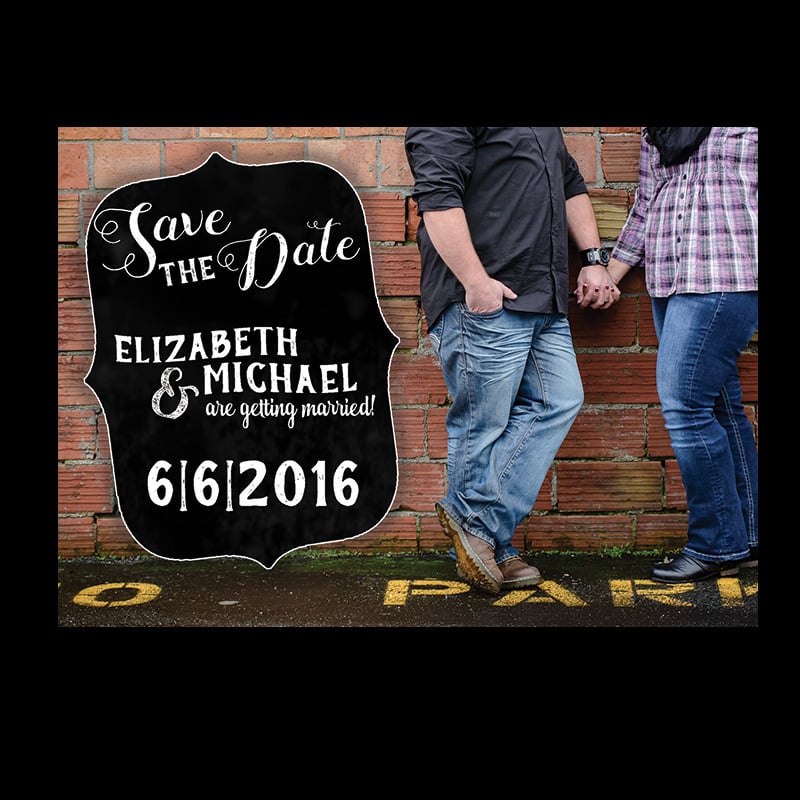
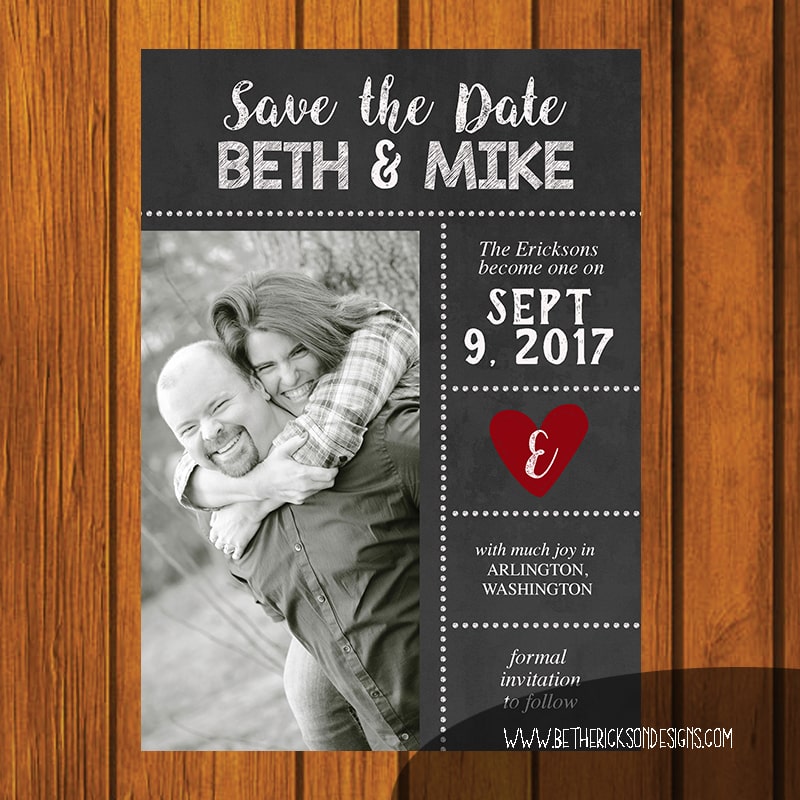
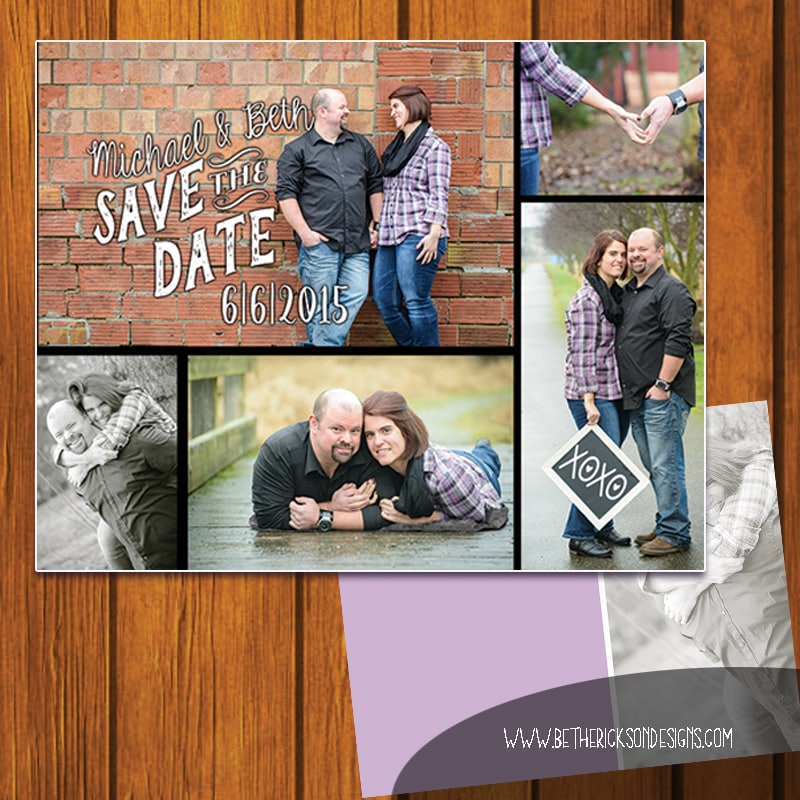
Here are a few examples of rustic save-the-dates and invitation sets. These are available for purchase at www.bethannerickson.etsy.com. As you will see below, these use lots of wood backgrounds and a mix of chalkboard fonts and formal script fonts. There are many more styles to choose from on Etsy and they can be created in any color combination you choose.
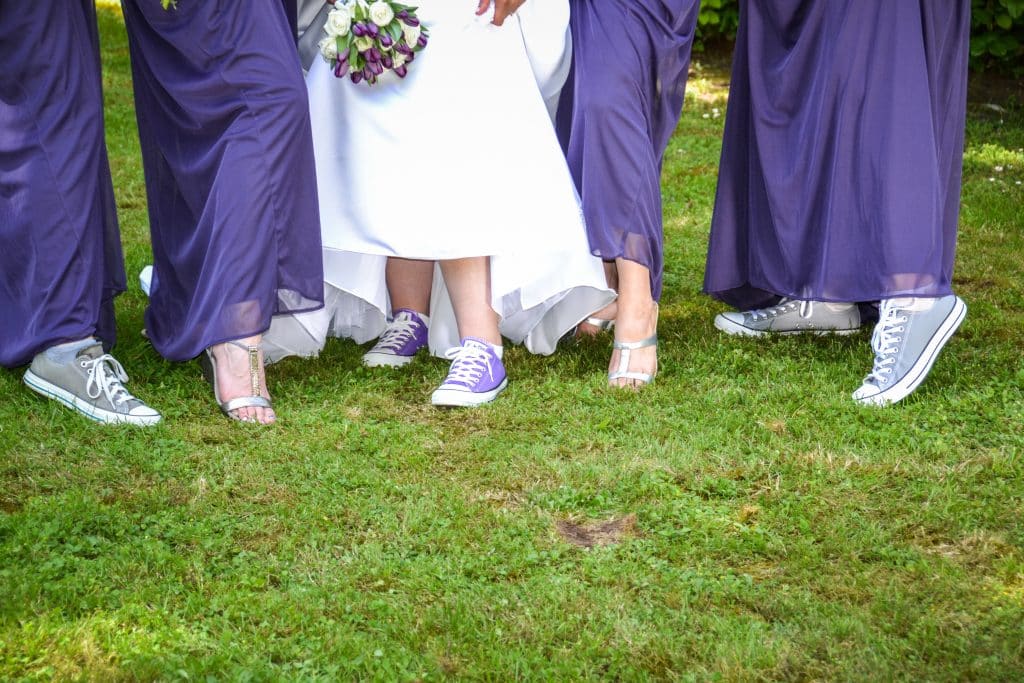
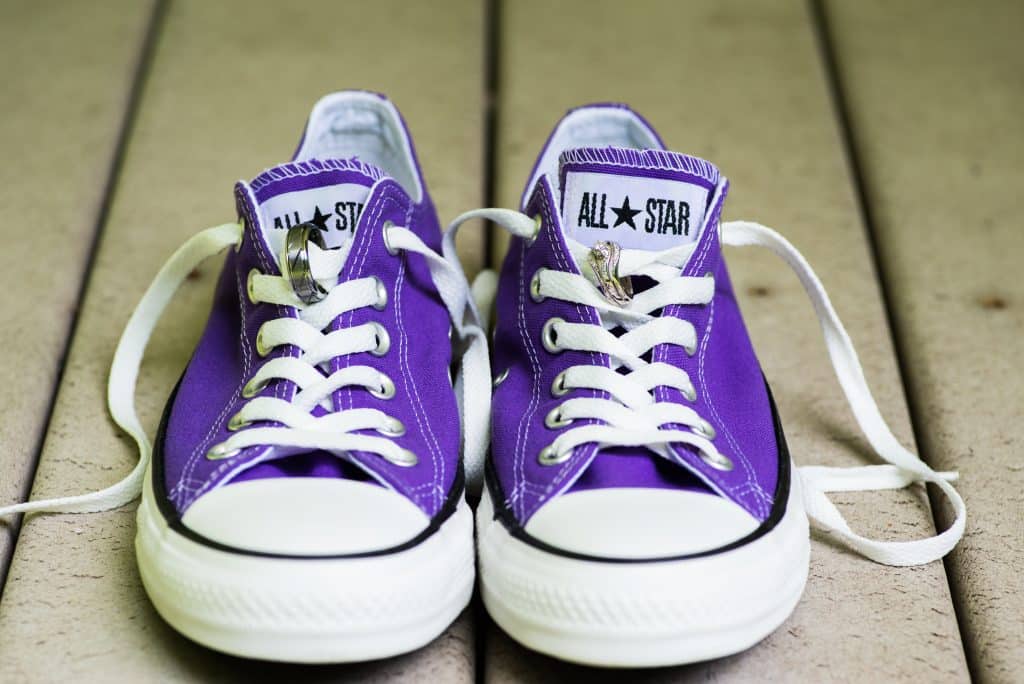
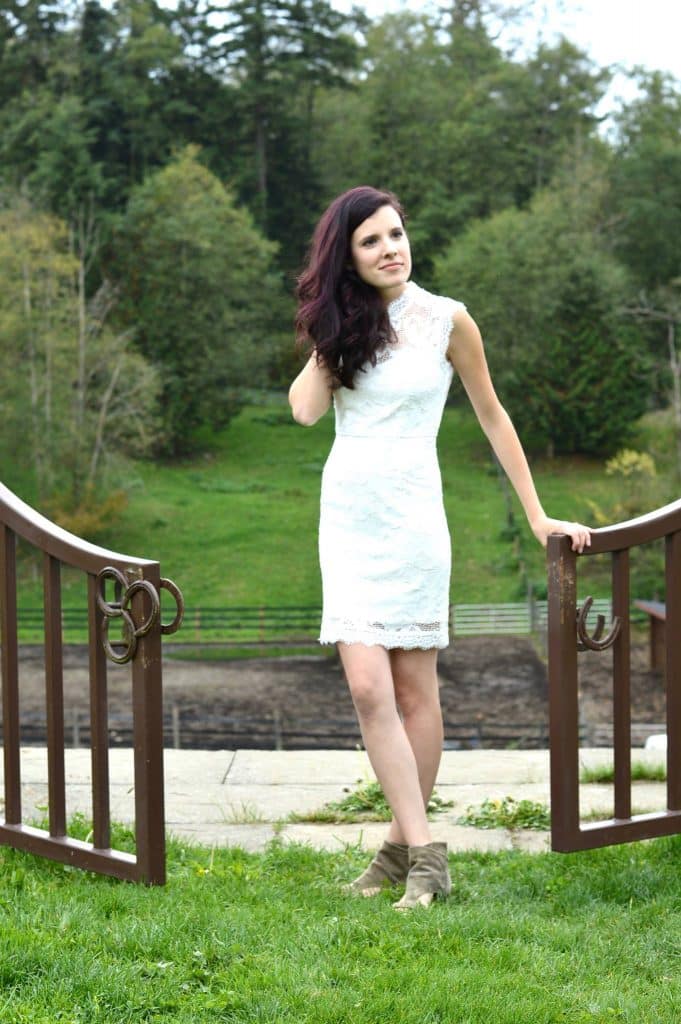
The next step would be choosing what your wedding party will wear on the special day and testing out possible hairstyles and make-up options. Some ideas for rustic attire range from, trendy jeans, dress shirts and cowboy boots for the guys to short/medium length dresses and cowboy boots for the girls if you are choosing the casual side of things. For my own wedding which was a purple and silver wedding with rustic tones, we chose more formal clothing, but wore Converse to bring in the casual side of things. The bride could wear a long or short dress, or a sundress with a choice of casual foot attire. Here are a few pictures to give you some ideas.
Now I will turn the blog over to Molly for the hair and make-up portion, picking back up when she is finished.
Hi Lovelies! My name is Molly and I was pleasantly surprised when Beth asked me share some tips for Brides on how they might incorporate a rustic style in their hair and makeup for their wedding day. Let me share a little bit about myself before we get to the details.
I am a licensed hair stylist and makeup artist for weddings and events. I own my own business called Lovely You by Molly. I have two sweet kids, a 4 year old daughter and a 1 year old son. I own a cleaning business as well but the hair and makeup is definitely my favorite. It is a joy to be a part of someones special day whether it’s their wedding day or headed to prom. I love it when I see a huge smile on a client’s face after they look in the mirror, with the style they have always dreamed of.
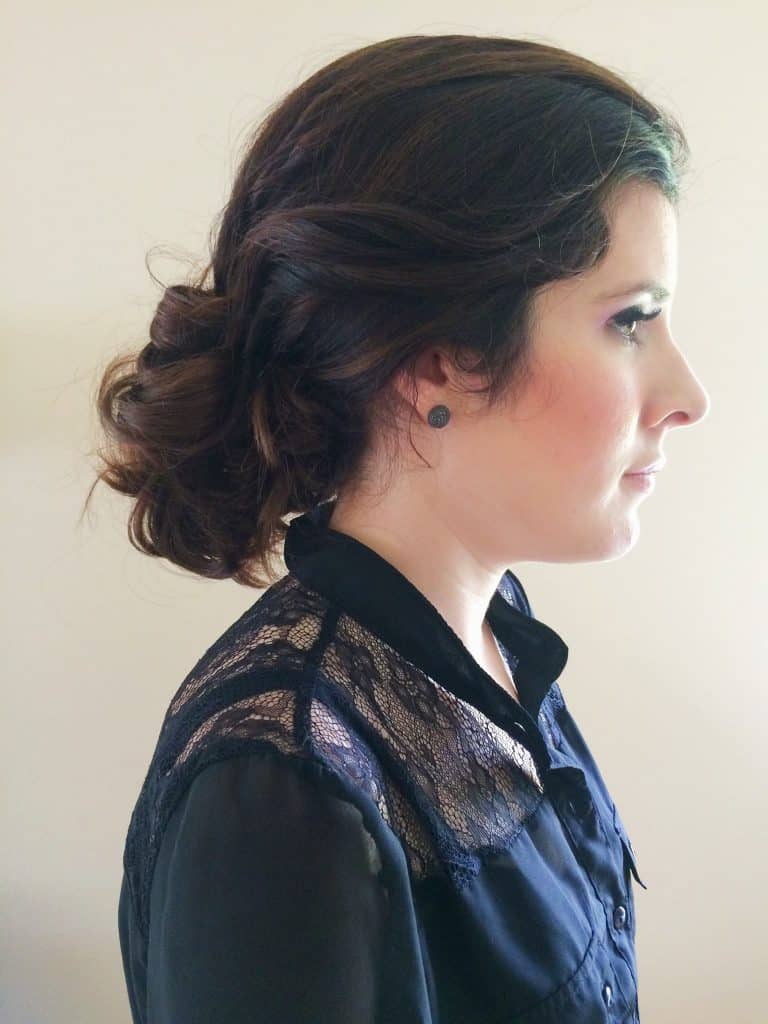
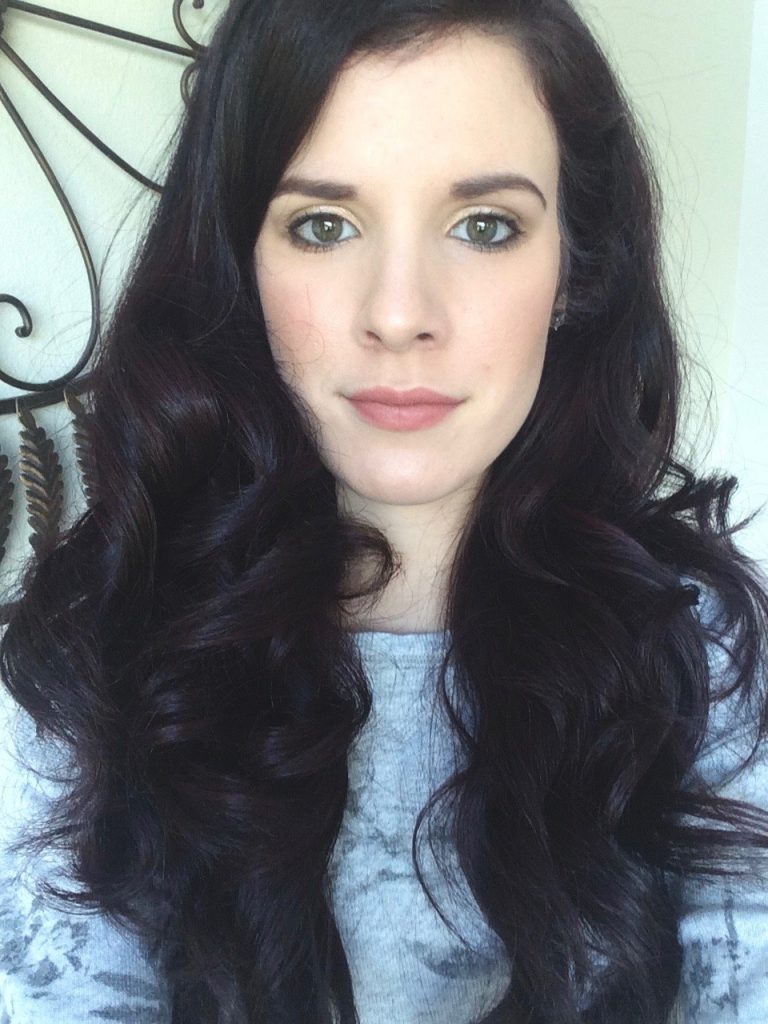
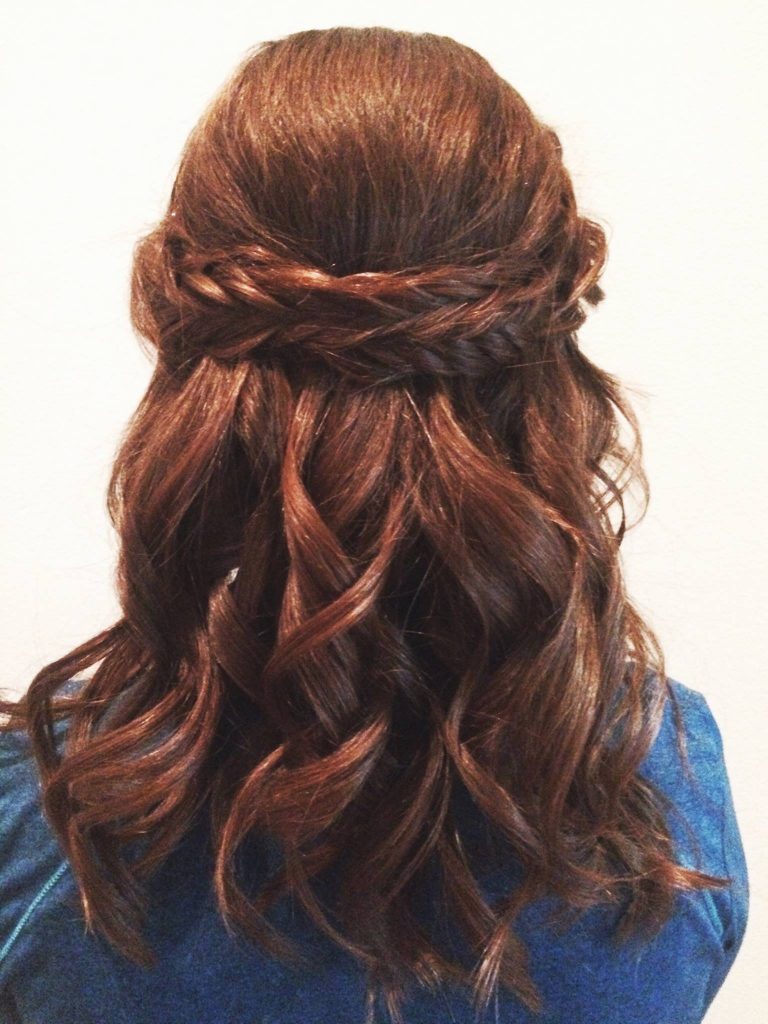
Back to this rustic theme, What are some good looks if you are a bride planning this style of wedding? Words that come to my mind for hair are loose waves, braids, and an effortless look. For makeup, I think of natural, warm tones and a soft look. Here are some photos of some styles I have created to get you thinking. The last one is a combined hair and makeup look on myself:
Lastly, I wanted to share three tips for Brides as the plan their wedding day style:

Thanks for reading and I hope these tips helped you become inspired about a beautiful, rustic wedding theme. Come find me on instagram @lovelyyoubymolly as well as Facebook, www.facebook.com/lovelyyoubymolly. I would love to get in touch!
Thank you Molly for all those wonderful suggestions.
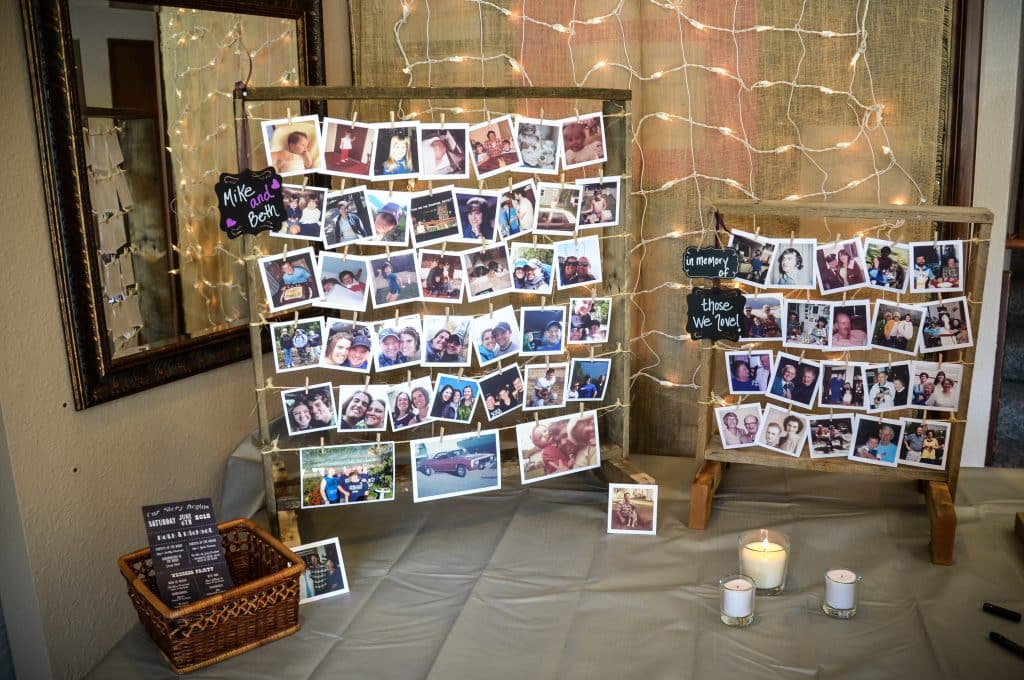
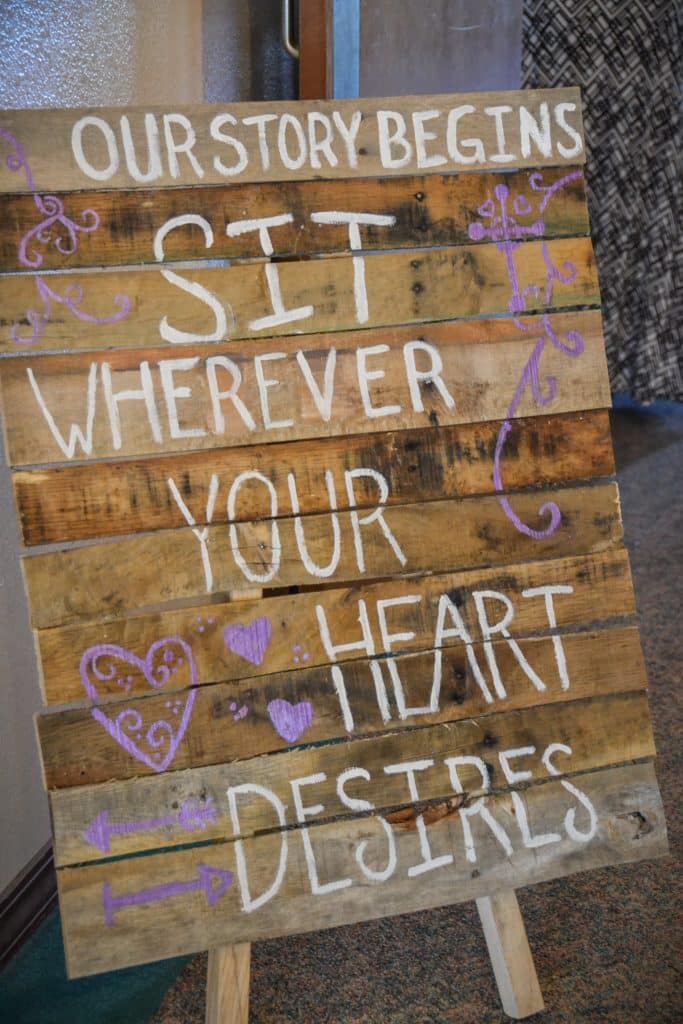
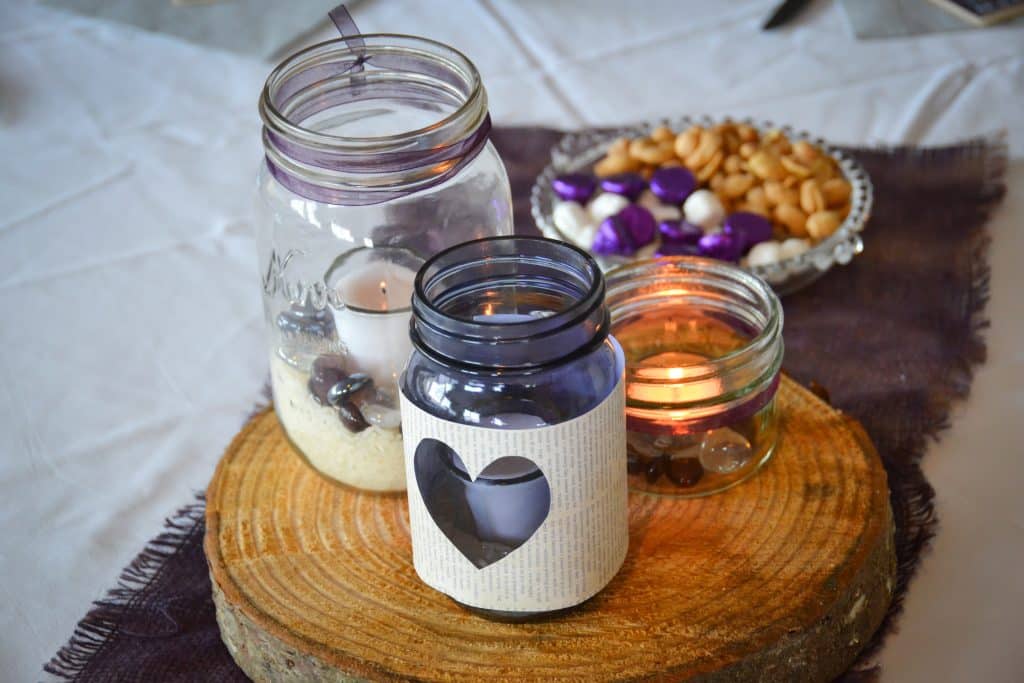
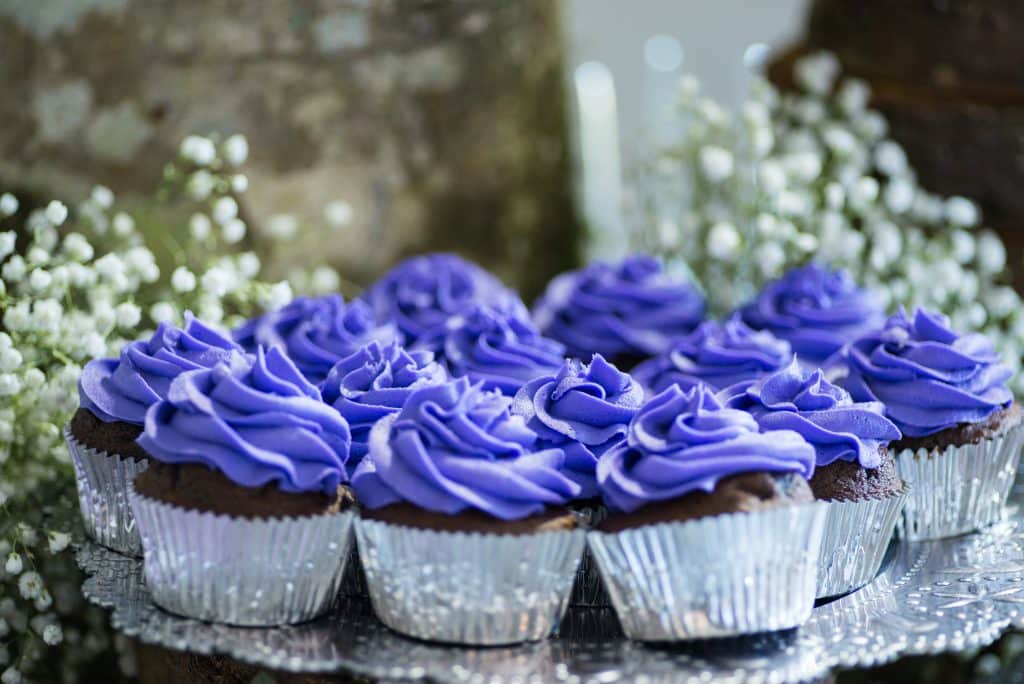
Next up, decorations! Decorations for a rustic themed wedding really are very simple. To complete this theme, use lots of wood, pallet boards, lanterns, mason jars, burlap, candles and lace. Popular right now are wood rounds for center pieces with mason jars or lanterns placed on top. Wrapping the mason jars with burlap, twine, vintage looking paper or lace adds an extra rustic feel and is fairly inexpensive to accomplish. Here are some photos of decoration ideas. If you have any questions on how to accomplish these looks feel free to ask me.
To wrap things up, once you choose your wedding theme, coordinating that theme throughout your wedding is really very simple. If you choose a floral theme, look for invitations with your favorite flowers on them, choose a long flowing dress, and bouquets of beautiful flowers. You could use flowers in your hair and have the pocket squares for the grooms be a fabric with an underlying flower texture. Use an arbor in the ceremony with flowers affixed to it and centerpieces with the same flowers arranged around candles or lanterns.
Some current trends in wedding themes are bohemian, floral, fantasy, fairy tale and rustic. If you search for these online you will find a many great ideas! But don't overwhelm yourself by trying to do everything you see, just pick and choose what you absolutely love. I really hope this helps you coordinate the wedding of your dreams. For ideas, suggestions or to hire me to help decorate your wedding, just contact me.
Coming Next Week: Wedding Memories: The art of creating a shadow box